Motherhood

We're Expecting Again! Comparing My 2 First Trimesters

second-baby-pregnancy-announcement.png

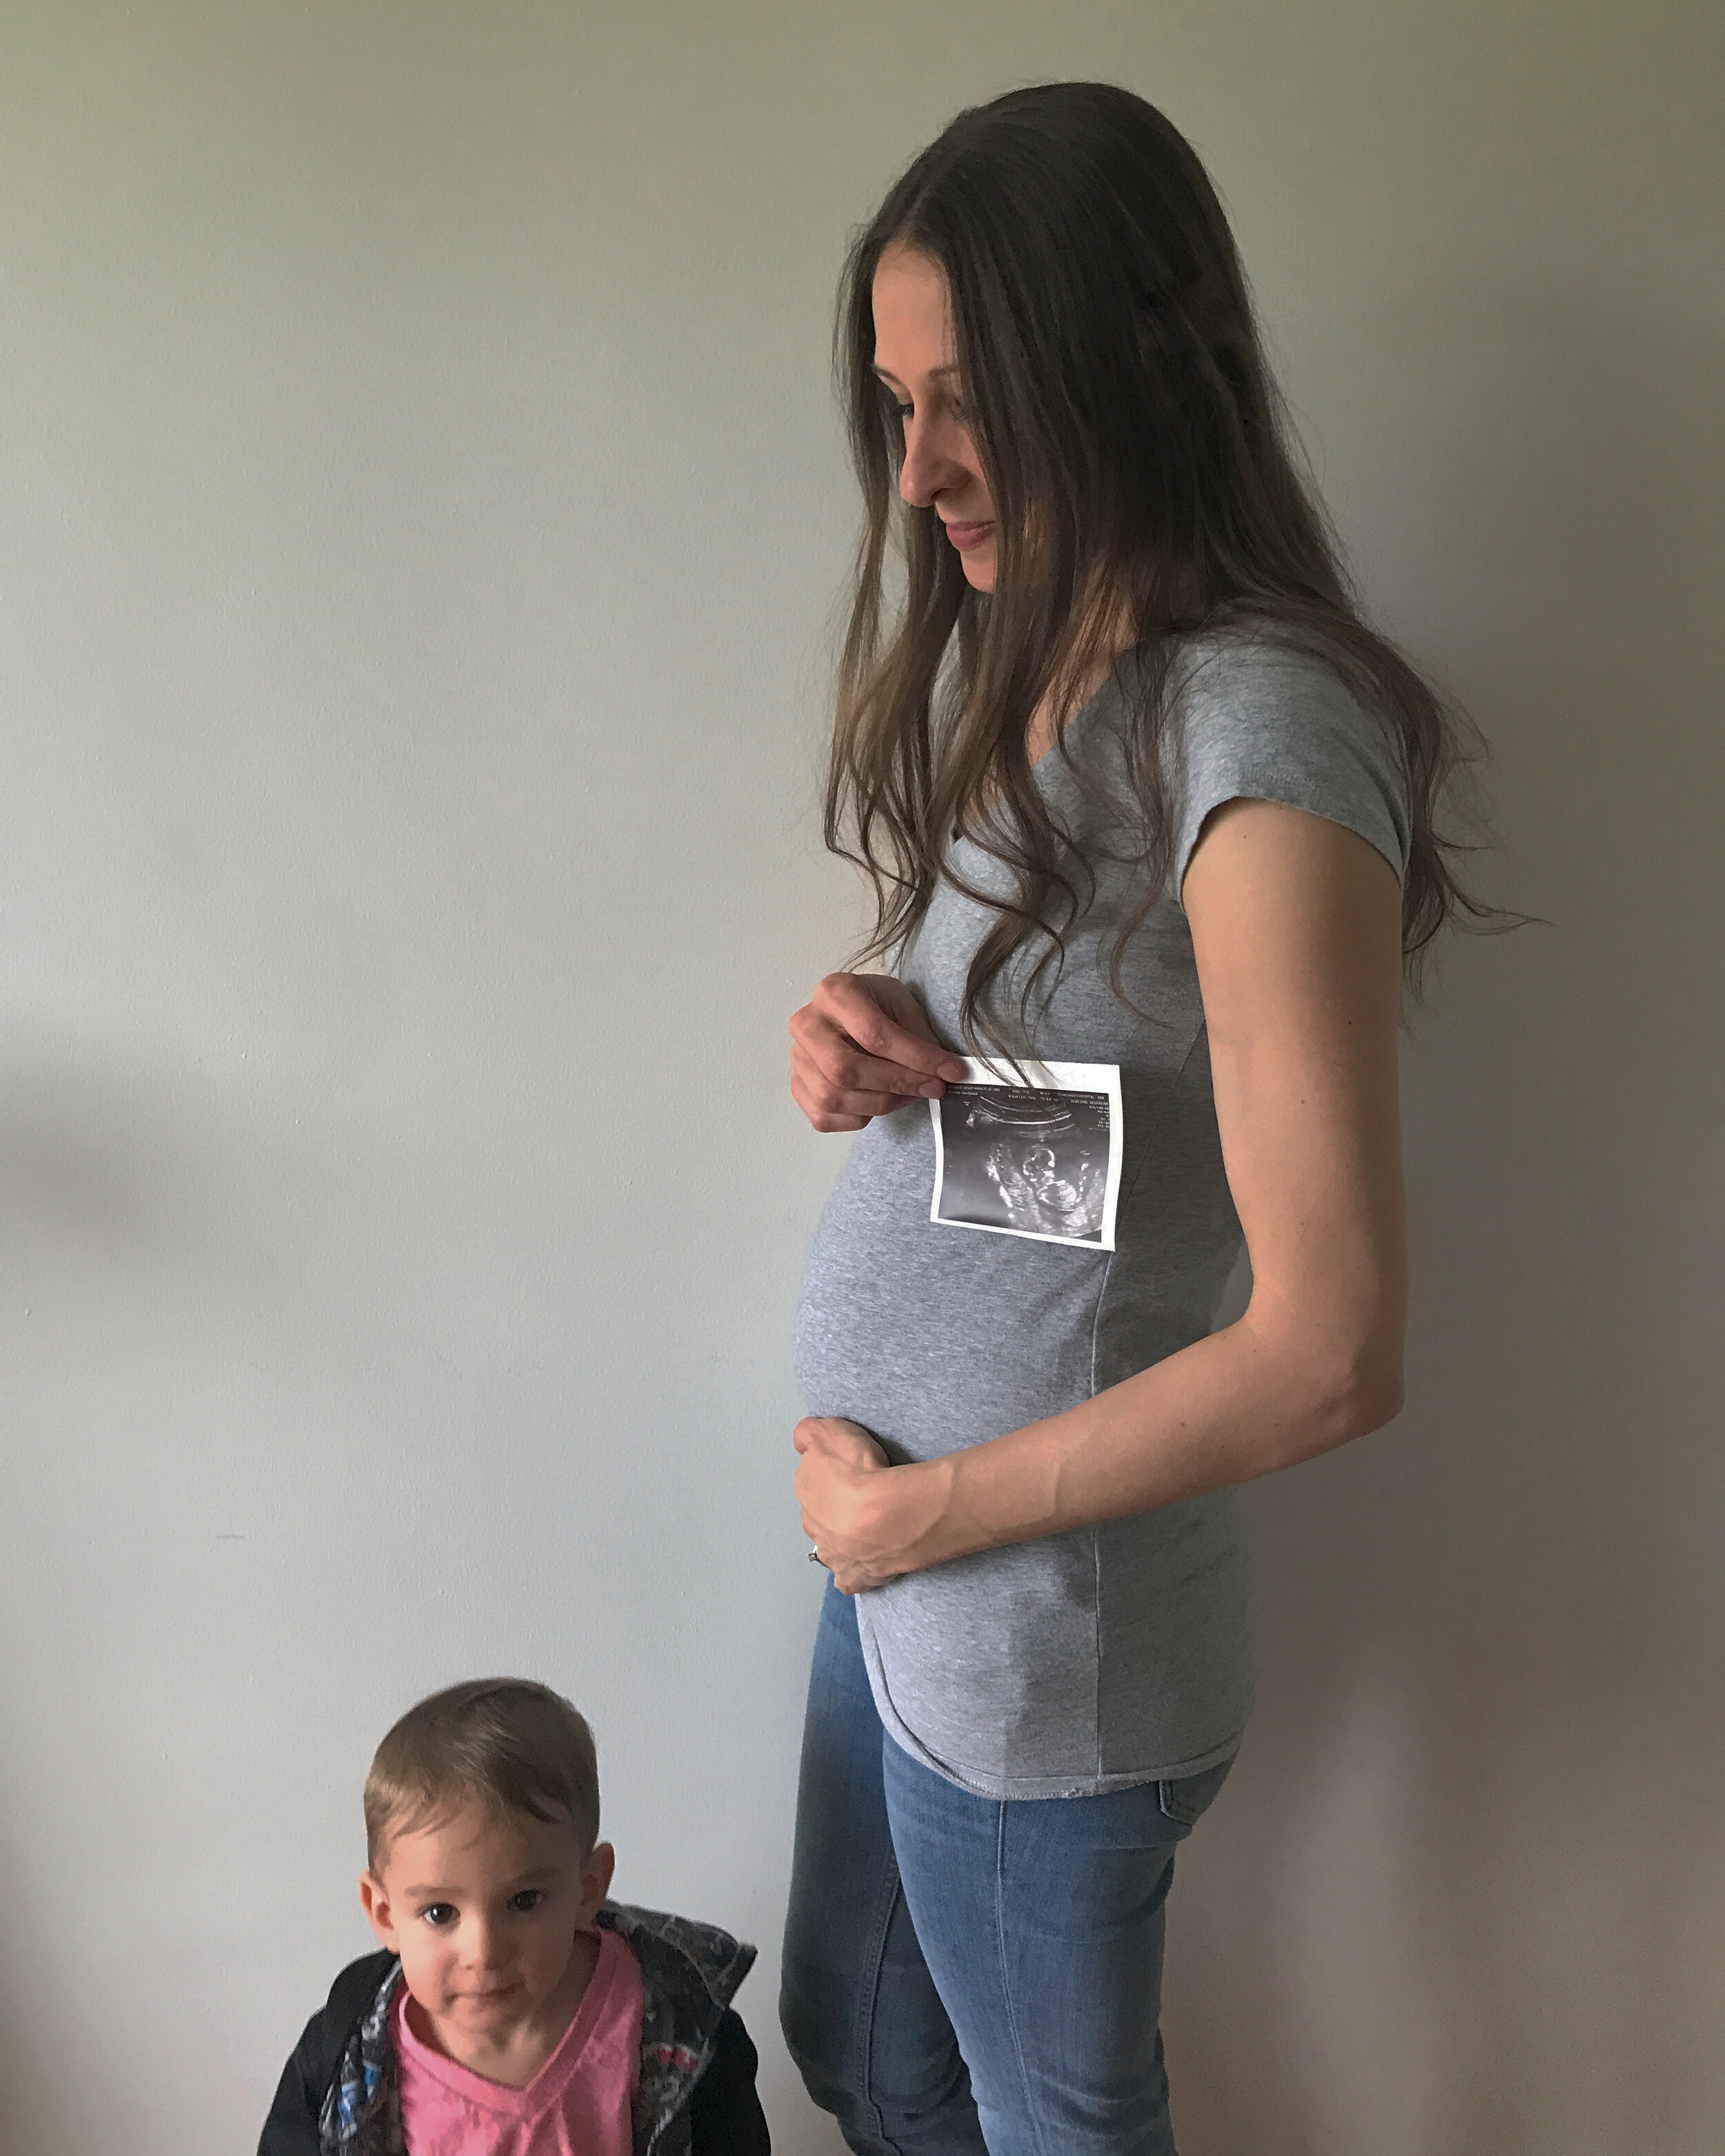
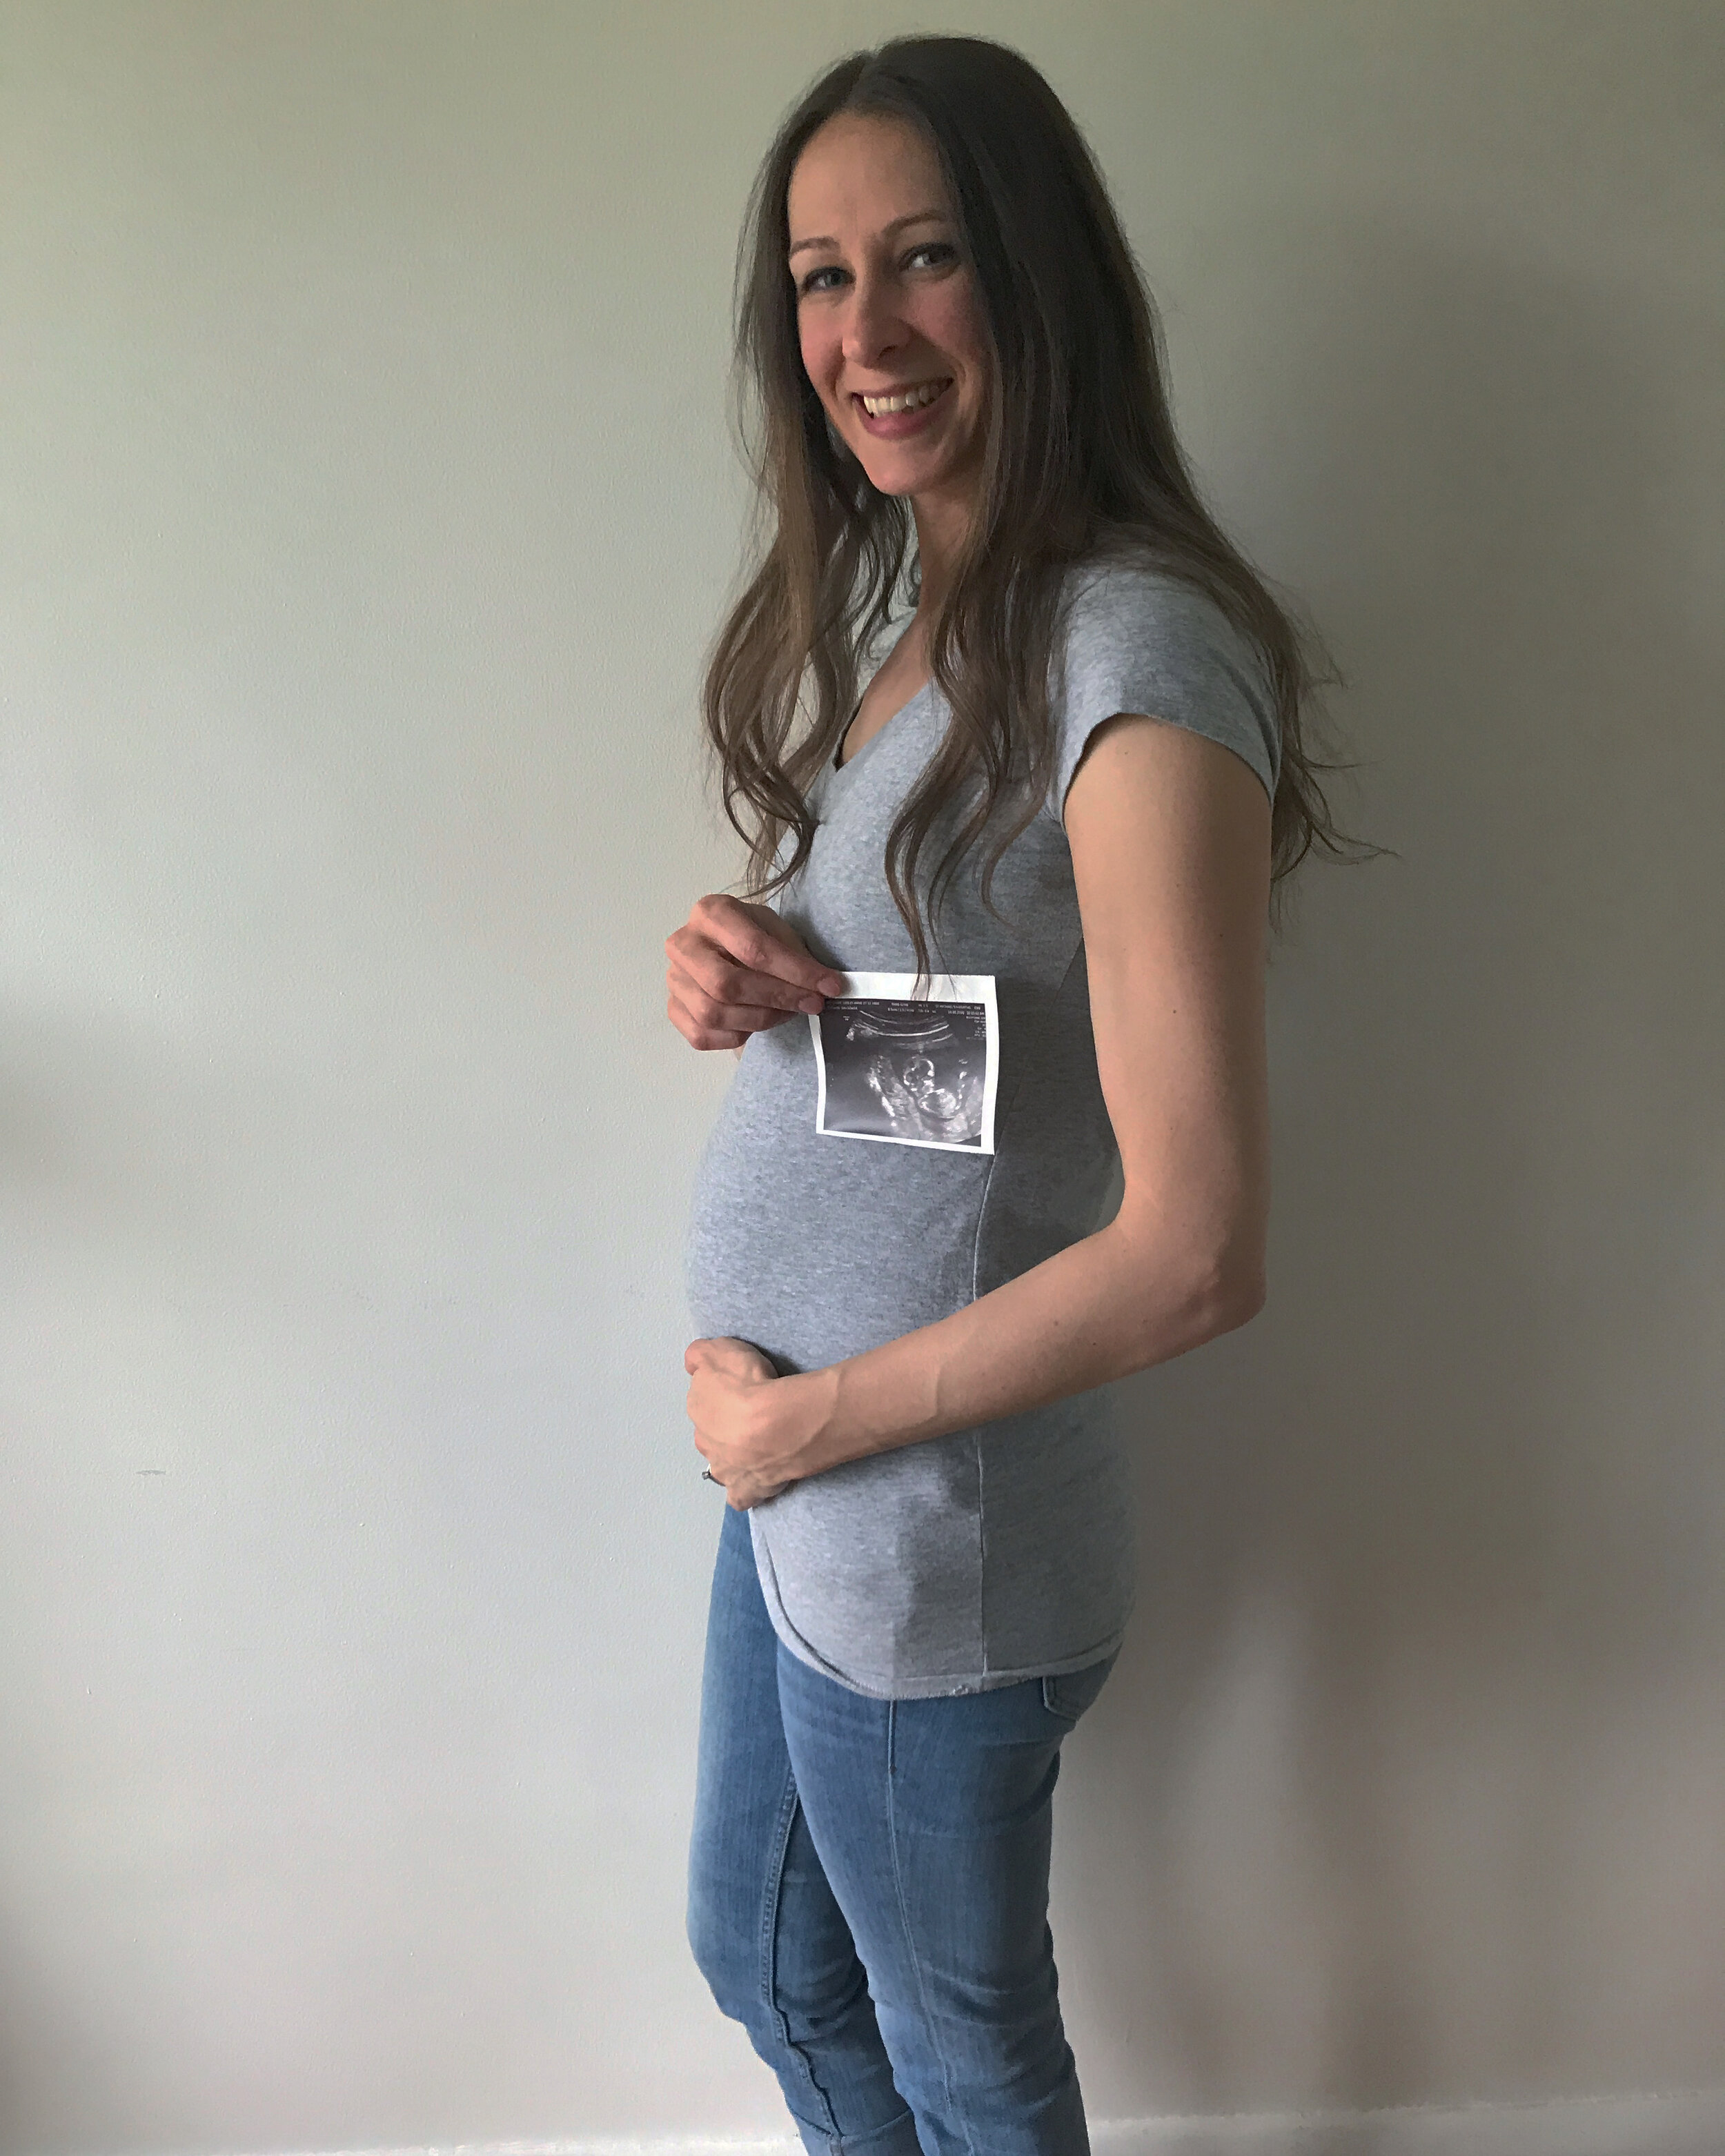
Taylor and I are so excited to announce that we’re expecting our second baby in November 2020! And since we’re an unconventional family, we chose to announce our news in an unconventional way — with four different sized gin bottles, ha! (Gin is Taylor’s favourite drink.) This pregnancy is already so different from the first — the first time around I barely experienced any morning sickness, but this time I was constantly queasy for almost the entire first trimester. I was looking back at my blog post about the first trimester when I was pregnant with Axel and while there are some similarities, most of my experience has been different this time around. For example, I’m not experiencing the same frequency of urination as the first time around, my boobs haven’t changed in size, I have an annoying lower back pain that might be sciatica, and I’m so repulsed by meat (mainly red meat and pork) that I think this child has already decided he or she will be a vegetarian!! I’m also feeling a lot less round ligament pain, and that’s probably because my body has done this before and those ligaments have already done their fair share of stretching. One thing that remained the same during both first trimesters were the frequent migraines. I had about a dozen of them over the course of 10 weeks. I’m very thankful to have my husband at home with me during this time (his industry was laid off due to COVID-19) because it would have been challenging looking after Axel while I was incapacitated by migraine (I suffer from complex migraine, which involves aura, weakness and numbness, aphasia, and headache). Also, the exhaustion! Obviously I would have managed daily life with a toddler while exhausted from pregnancy, but I’m not complaining about having the extra help. :)

Being pregnant during a global pandemic sure does add anxiety to the experience. I feel more vulnerable (well, I am more vulnerable), and a simple task such as grocery shopping is very stressful. But I’ve been staying safe and going out as little as possible to keep myself and my family healthy. I’m already at 18 weeks pregnant at the time of writing this and we have our anatomy scan next week so my next update will be very exciting, so stay tuned!!

What To Pack In Your Hospital Bag

what-to-pack-in-your-hospital-bag.JPG

I packed my hospital bag about three weeks before my son was born, but I started researching what to bring with me a few months before he was due, so I felt very prepared at packing time. A hospital bag (also sometimes known as a hospital go bag) is the bag you take to the hospital or birthing centre with all the essential items you’ll need for both you and your baby during and after delivery. I recommend you get it packed at least a few weeks in advance of your due date and have it ready to go at a moment’s notice just in case baby decides to come early! I pack lightly when I travel, so I tried to be as minimal as possible when packing for the hospital. Here’s what I packed in my hospital bag, and for your easy reference, I’ve included a checklist at the end of this post. I won’t go on in great detail about every item I packed, but there are a few things that I want to draw attention to and elaborate on further.

THE BAG

Instead of using a travel or overnight bag, I actually used my diaper bag as the hospital bag! We received the Skip Hop Greenwich Diaper Backpack as a baby shower gift and it was large enough to hold everything I needed for both me and the baby during our hospital stay.

TOILETRIES

Bring the essentials like a toothbrush and toothpaste, shampoo, deodorant, etc. but also bring hair elastics, bobby pins and lip balm (you’ll likely be sweaty and want your hair out of your face, and your lips will probably get very dry). My number one toiletry essential is to BRING YOUR OWN TOILET PAPER! And not just any toilet paper, but bring the softest toilet paper you can find (this, in my opinion, is Charmin). This isn’t a 5-star hotel you’re staying at, it’s a government-funded hospital, so you’d better believe they’re not shelling out on good quality TP. When I was doing my research about what to bring, I didn’t see this on anyone’s list, and I’m so glad I thought of it on my own. This is not a time to use the cheap scratchy stuff, mama! I also recommend packing a peri bottle. The hospital will give you one but it’s not the greatest. I bought the FridaBaby Fridet Momwasher for postpartum home use but I wish I had brought it to the hospital with me. Bring “thunderpads” (those giant, thick maxi pads) because hospital supply is limited. You can also make your own “padsicles” for cooling comfort, but cold packs are just as good.

FOR MOM

Bring comfortable clothes to labour in. This could be a robe or an oversized t-shirt or a bralette with cozy shorts or pants. You can also just wear the hospital gown they give you, but bring something of your own in case you want it. Also pack a going-home outfit (keep in mind that you’re going to look about 6 months pregnant, so pack a pair of comfortable maternity leggings because I hate to break it to you but you won’t be fitting back into your skinny jeans for quite a while yet). Pack flip flops for the shower and slippers for the room and for walking the hallways. Pack a few pairs of what I call “bumderwear” (underwear that covers your bum, a.k.a. not thongs) because you’ll be wearing a lot of pads and hospitals don’t give you many pairs of that fancy postpartum underwear you hear so much about (or, go one step further and bring leakproof underwear). Pack a sleep mask — great for catching zzz’s during the day while baby sleeps, and helpful at night too because hospital rooms always have a dim light on somewhere in the room.

FOR BABY

Bring diapers, wipes and barrier cream. The hospital has these in short supply and though they will put your baby in a diaper to start, they expect you to bring these items yourself. Baby will also need an outfit to wear home (something cute, of course!). I packed 2 short-sleeved onesies, pants with attached feet, a long-sleeved onesie, a hat, and socks. Definitely don’t forget to bring a hat for baby’s time at the hospital/birthing centre — it’s not just to look cute on the way home, new babies get cold fast and you’ll probably have it on your baby most of the time.

OTHER

This category includes the things you want with you during labour and to make your hospital stay more comfortable. For example, bring a bluetooth speaker that you can connect your birth playlist to, a phone charger, your own pillow, and snacks — lots of snacks. (The food where I delivered was so disgusting that I sent my husband out to buy food for every meal). I suggest packing a massage roller (this Harmony Roller is a dream — I bought it on Amazon after my doula recommended it). Make sure you bring your important documents, such as your birth plan, health card and hospital card. I highly recommend you bring a very large reusable water bottle and keep it within arms reach because breastfeeding makes you THIRSTY.

As you may already know if you read my birth story, I laboured for about 8 hours at home, and by the time I arrived at the hospital I was already 10cm dilated. Baby was delivered about half an hour after we arrived so I didn’t need some of the items that I thought I might need during labour/delivery. But I did make use of a lot of the other items that I packed for my postpartum stay and I feel like I achieved my goal of packing light.

If you’re also packing your hospital bag and and want to keep things to a minimum, here’s my handy checklist:

hospital-bag-checklist.png

Cloth vs. Disposable Diapering: An Honest Comparison

cloth-diapering-versus-disposable-diapering.JPG

I was so determined to cloth diaper my son. Just the thought of all those disposable diapers going into landfill made me cringe. So we used a cloth cloth diapering service after he was born but cancelled after 10 weeks. Why? Because the benefits of cloth diapering were over-promised and under-delivered. Spoiler alert — this post is in favour of disposable diapers. We experienced too many negative outcomes with cloth diapering so we switched to disposables. Since I’ve tried both methods of diapering, I wanted to share my experience and offer a comparison of the two.

ENVIRONMENTAL

One of the biggest deciding factors parents have for choosing to cloth diaper tends to be environmental. Cloth diaper services will share statistics about the number of disposable diapers going to landfill every year and how harmful their production is on the environment. But they conveniently fail to acknowledge their own carbon footprint with all the water and energy they use to clean the dirty diapers coming back to them. While I’m sure that disposable diapers are far more detrimental to the environment, it comes off as dishonest when cloth diaper companies throw shade at disposables to strengthen their argument for using their services, especially when they come off as having zero environmental waste themselves. So, while cloth diapers win points for being better for the environment, you’re not getting the full story, and for me, it wasn’t enough of a reason to continue with cloth, since all the other reasons to do so were not beneficial (as you’ll see below).

COST SAVINGS

Cost is another big factor when parents are choosing either cloth or disposables, and cloth diaper services claim to save you thousands of dollars. THIS IS COMPLETE B.S.! For us, disposal diapers have so far been so much cheaper. I researched and quoted the leading cloth diaper companies servicing Toronto and chose the least expensive option. With this company, it didn’t matter how many diapers from our weekly allotment we actually used and sent back for cleaning — they still charge the same amount per week. We weren’t using nearly as many diapers as they sent us. In comparison, we now buy a large box of Pampers in bulk from Amazon for $29 and that lasts us one month, whereas we were paying $73 a month (18.25/week) for the cloth diapers!!! Disposable diapers win this round.

BABY’S HEALTH

Our baby’s health was the primary reason we cancelled the cloth diaper service. These services claim that the chemicals used in disposable diapers lead to diaper rash, and that since their cloth diapers don’t contain any chemicals, then baby won’t get diaper rash (nor any future potential harmful effects from the compounds/substances used in the manufacture of disposable diapers). Here’s the thing: cloth diapers get wet and stay wet, so babies are sitting in a wet diaper more often than not. On the other hand, disposable diapers are made with the technology to absorb and wick away wetness from baby’s bottom, keeping them dry until they are changed. Don’t get me wrong, we were changing our son’s cloth diapers quite frequently, and yet he was still always wet when we changed him (they also leaked ALL THE DAMN TIME, that’s another issue we had, I’ll mention that in more detail below). And because he was almost always sitting in a wet diaper, he developed a really severe diaper rash that only kept getting worse. You’re not supposed to use diaper creams with cloth diapers but to hell with that, we needed to clear up our son’s rash, which was so bad, it took nearly three weeks of diapering with disposables to reduce the rash and finally disappear. It hasn’t returned since, nor have we needed to use any creams since. Obviously, disposable diapers won this round in our case.

POTTY TRAINING

Apparently, cloth diapering reduces a child’s time spent in diapers and sees them potty trained by age 2 (instead of age 3 as is typical with disposable-diapered children). The reason being that when wearing a cloth diaper, the child can feel the uncomfortable wetness and is more likely to use the potty to avoid being wet in future. We’re not at this stage yet so I can’t speak to its effectiveness, but I may consider giving cloth diapering another try when our son’s second birthday approaches. This early potty training theory makes sense to me, so I’ll give this round to cloth diapering.

ADDITIONAL CONSIDERATIONS

It isn’t enough to slap a piece of folded cloth on your baby’s bum and call it a day (or, in a baby’s case, call it an hour, lol). Cloth leaks, so you also need a diaper cover. But you know what? THOSE LEAK, TOO. I was constantly hand-washing diaper covers because they leaked and needed washing with every single diaper change. Diaper covers are another expense, and I only purchased four of them — not enough to wait until I did the next load of laundry, which I was already doing quite frequently. And the reason I was doing so much laundry is because the cloth diapers leaked all over my son’s clothing and he was soiling several outfits a day! Speaking of outfits, cloth diapers and diaper covers are far bulkier than disposable diapers so you may find that appropriately-sized clothing doesn’t fit with cloth. Another consideration is that not all daycares are accommodating of cloth diapering and they require disposables. I’m sure there are lots of daycares out there that are willing to accept cloth-diapered children, so I’m not making this point to discourage, but to offer a heads up so that you know the questions to ask and can do your research on daycares in your community in advance.

FINAL THOUGHTS

I’m willing to give a cloth diapering service another try down the road, but for now I’ve come to terms with the environmental impact of using disposable diapers. For anyone out there who is currently cloth diapering and loving it — I’m so happy it’s working out for you and I hope it continues to be a success! If you’re expecting and are thinking about cloth diapering, I do hope you’ll give it a fair try and don’t reject it based on my experience. I simply wanted to offer some insight and a reality check. At least you’ll have a heads up and know what to realistically expect.

Have you tried a cloth diapering service? Has anyone tried cloth diapering without using a service? Good on you for doing that! If you’ve tried both cloth and disposables, I’d love to hear about your experience and which type of diapering you prefer.

Baby Registry Essentials for First-Time Parents

baby-registry-essentials-for-first-time-parents.png

I’m six weeks into this motherhood gig now, and while I won’t pretend to have it all figured out, I at least feel like I’m starting to get a handle on things.* I feel especially confident when it comes to the baby gear and items we’re using, as we quickly learned what works for us and our baby, and what doesn’t. So today, I’m sharing what I deem are essential baby items for other first-time parents. You’ll see that I’ve offered a lot of details for each item (yes, I talk a lot!), so if you simply want a checklist of items and nothing more, scroll to the bottom for my checklist infographic. This list will come in handy as you build your own baby registry. Our main registry was with Amazon and our secondary registry (for those who preferred to shop at a store) was with Indigo.

[* Update: I’m now 4.5 months into motherhood, I can’t believe how long it’s taken me to finish this post! But since it’s taken this long, I’ve had a chance to get extra familiar with my recommended products, and I really stand by them.]

GEAR

Stroller — I did a ton of research on the various strollers available, and even went to a few retailers and baby shows to “test drive” them before making a decision. I fell in love with the Uppababy brand and purchased the Cruz model. I recommend getting a travel system (an infant car seat that clips onto a stroller base) so that you don’t have to remove your baby from the car seat in order to put them in the stroller, which is especially handy when you have a sleeping baby that you don’t want to wake! And even if baby is awake, it saves you from having to unstrap from one device and re-harness into another. [Update: after some use, I learned that our Uppababy was more fashion over function. Even though the wheels were clean, there was a problem with the mechanism and even when pushing the stroller in a straight line on a smooth surface, the wheels would turn sideways and jam up, and it was like pushing a sled. I had to push the stroller back and forth a few times to get the wheels to spin back around, and often would have to turn them by hand. SO ANNOYING. Also, the brakes never unlocked without difficulty — I could use the foot lever to unlock one wheel, but had to use additional force to get the other wheel unlocked too. Their customer service was rude and unhelpful, but FINALLY, after owning and using the damn thing for a year and a half, they sent me a new frame and new wheels. It was under warranty, after all, but they sure did give me a hard time getting the defective parts replaced!! This is a very popular stroller brand and I’m sure most of them operate well, but just in case, make sure to save your receipt and to register your product, and even when you register it, make sure you have proof/confirmation from the company that it is registered.]

uppababy-cruz-stroller.JPG

Car seat — This is the most essential item of all, because you’ll need this to get your baby home safely from the hospital. We love our Nuna Pipa because it clips onto our Uppababy Cruz stroller with an adapter, and also because the canopy has an extra pull-down cover that shields the baby from the wind and from the unwanted touch of strangers.

Carriers — I’m a big fan of baby-wearing and my favourite carriers are my Huggaloops wrap and my Junior Foxes ring sling. The Huggaloops carrier was a life-saver when it came to getting anything done around the house and for the first 13 weeks it was the only way that my baby would take a nap! I also picked up the Ergobaby 360 carrier but didn’t really use it until Axel was a little bigger (this carrier is preferred by dad, the adjustable straps make it work for both of us to wear).

Baby bouncer or rocker — the BabyBjörn Bouncer was a lifesaver for me. It almost never leaves the bathroom because it’s how I’ve managed to take a shower everyday since day 1.

Happy little guy in his BabyBjörn Bouncer.

Happy little guy in his BabyBjörn Bouncer.

DIAPERING

Diapers — Make sure you’re well stocked before baby arrives, they sure do go through a lot of these! We spent a week using Pampers disposable diapers, then, for about the next 11 or 12 weeks we used a cloth diapering service that picks up the dirty diapers and drops off a clean supply weekly, but cloth diapering wasn’t working for us and we switched back to using Pampers, and we order them monthly using Amazon’s Subscribe & Save program. If you’re interested in knowing the differences between the two types of diapering, I wrote an article comparing Cloth vs. Disposal Diapering, you can read that here.

Wipes — You’ll need a lot of baby wipes but I don’t recommend stocking up on this item right away; instead, buy a few packages of different brands to see which kind is best for your baby’s skin, and then buy in bulk once you know which ones won’t cause a skin reaction. We’re using Huggies Natural Care Unscented Wipes.

Diaper cream — anything with zinc oxide is a good idea. Again though, try a few to see which one is best for your baby.

Diaper bag — I wanted something stylish AND functional, and I looked at a ton of diaper bags before landing on the Skip Hop Greenwich Backpack. It’s large, has many compartments, and looks chic with its rose gold hardware. I even used it as my hospital bag - it was the perfect size to hold everything I needed. (You’ll also want to pick up a wet bag for holding dirty diapers when changing on the go.)

Diaper pail — we went with the Ubbi diaper pail and I’m happy with it. It opens from the top by hand, which doesn’t bother me, but if you think you would prefer a pail that opens with a foot pedal you might want to check out the Diaper Genie or something similar.

Diaper caddy — helpful for storing all your diapering needs to carry around to different rooms of your house. This is what I did in the beginning, but quickly preferred just going upstairs to change a diaper in the nursery no matter if I was spending the day on the main floor. I love having the caddy on the changing table.

NURSERY & SLEEP

I’ll be brief here because I’ll be doing a nursery tour post and I’ll include more detail about my nursery room choices in that post, so here’s a quick list plus a few items I wanted to elaborate on:

Crib, mattress, waterproof mattress protector, fitted sheets, change table, changing pad, glider/rocker, footstool, side table, storage bins/baskets, diffuser, baby monitor, books

Bassinet — You’re likely going to have your baby sleeping in your bedroom for at least the first three months, and this is where a bassinet comes in handy. I had a hard time with this item and debated getting one at all because bassinets are so expensive and you only use them for a short period of time. While I was deciding to get one or not, our back-up option was to bring the crib into our bedroom, but we ended up getting a bassinet on loan from our neighbour. Knowing what I know now, a bassinet is essential, and if we weren’t able to borrow one I now believe that this item is worth the high price. It’s so handy to have your baby right next to you and be able to quickly and easily scoop him up when he needs to feed during the night, or to just reach over and lay your hand on his chest to calm him down if he starts fussing.

Receiving blankets — these can be used for multiple purposes: as a swaddle blanket, a burp cloth, a blanket for tummy time, a nursing cover…there are so many ways to use this item, so stock up.

Swaddlers — swaddling is a really great way to calm baby for sleep in their early days. At first we struggled to make our own by folding receiving blankets but he always broke out of them. Eventually, we got these velcro ones by SwaddleMe and they worked perfectly.

Sleep sack — also known as “wearable blankets,” sleep sacks are perfect for babies who are no longer being swaddled but aren’t ready to sleep with a blanket.

White noise machine — we have the Hatch Baby Rest Night Light & Sound Machine and keep it next to our bed so that it’s near the bassinet, but it includes an app so that you can control it with your phone so you can put it anywhere in the room and still adjust the settings. We also have a Sleep Sheep attached to the crib but it’s great for on-the-go, too.

BABY SAFETY & HYGIENE

Thermometer — we have a generic store brand armpit thermometer and a forehead swipe thermometer but I’ve heard that Braun is the best so we’ll be getting one of those soon.

Snot sucker — so gross, but so necessary. Before baby came, I naively thought that babies’ noses only got snotty when they caught a cold. Nope! Babies always have boogers and their tiny nostrils need clearing because they can’t do it themselves. We like the FridaBaby snot sucker.

Nail clippers — you won’t need to cut your baby’s nails for the first few weeks because their nails are soft as skin and they just fold and break off, but once you start needing to cut their super sharp nails, the FridaBaby nail clipper is a good one because it has a “viewfinder” so that you can clearly see what you’re cutting.

Other items for baby safety and hygiene: baby gate, baby-proofing gadgets, soft bristle hair brush, infant Tylenol, Vitamin D drops, probiotic drops (for treating gas).

FEEDING

Breast pump — I’m using the Medela Pump In Style backpack pump and yes, this brand is expensive but it’s worth it (it’s hospital recommended). I bought mine used and then just bought all the replacement parts new and still saved a ton of money. Check with your insurance company, some of them cover breast pumps. For hands-free pumping, pick up a pumping bra.

Breast pump accessories — keep in mind that breast pumps come in different sizes to fit your nipples. I had to buy three sets of breast shields before I found the right one for me. You’ll also need bottles to collect the milk.

Breastmilk freezer bags — if you’re able to pump extra milk and save it, do it! Always good to have it when you need it.

Bottles and nipples — don’t buy too many bottles until you know which ones your baby will like (they are fussy little creatures!). We’re lucky and our baby doesn’t seem to have a preference. My favourite is the Comotomo and dad likes the Munchkin Latch. We also like the Boon Nursh bottles. When it comes to bottle nipples, keep in mind that they come with different flow rates, so check what already comes standard with the bottle you’re buying, and you can buy extra nipples with greater flow rate separately.

Pacifiers — our baby has a preference when it comes to soothers, he will only take the Philips Avent pacifier. I love that it glows in the dark so it’s easy to find when he spits it out at night and wants it back.

IMG_4910.JPG

Teething toys — our boy has already started teething at 4 months old! The “Sophie” giraffe is a popular item and we also just got a clip-on teether where the strand from clip to teether is made of little silicone beads so that the whole thing is one big chew-toy and our son can bite anywhere.

Formula — if you’re not breastfeeding, it’s obvious that you’ll need this, but even if you plan on breastfeeding it’s good to have some formula on-hand just in case.

Other feeding accessories: bottle brush for cleaning, drying rack, burp cloths, nursing pillow, nursing cover (if you’re shy in public; and the one I’ve linked to doubles as a car seat cover).

High chair — not that you’ll need this right away, but good to be prepared.

BATH TIME

Baby tub, hooded towel (this one is GREAT because the other end of it clips behind your neck so you wear it like an apron, making it hands free), wash cloths, hair & body wash, body lotion (we like Live Clean Baby and Aveeno Baby products best).

PLAYTIME

Activity gym, sensory toys, Oball Bendable Ball, blocks, stacking toys

FOR MOM

FridaBaby Fridet Momwasher (a.k.a. a peri bottle), Tucks Medicated Pads, nursing pads (disposables are great, but I also loved these washables ones), Nipple cream (ask your doctor to prescribe Jack Newman’s Nipple Cream, it’s the best!)

CLOTHING

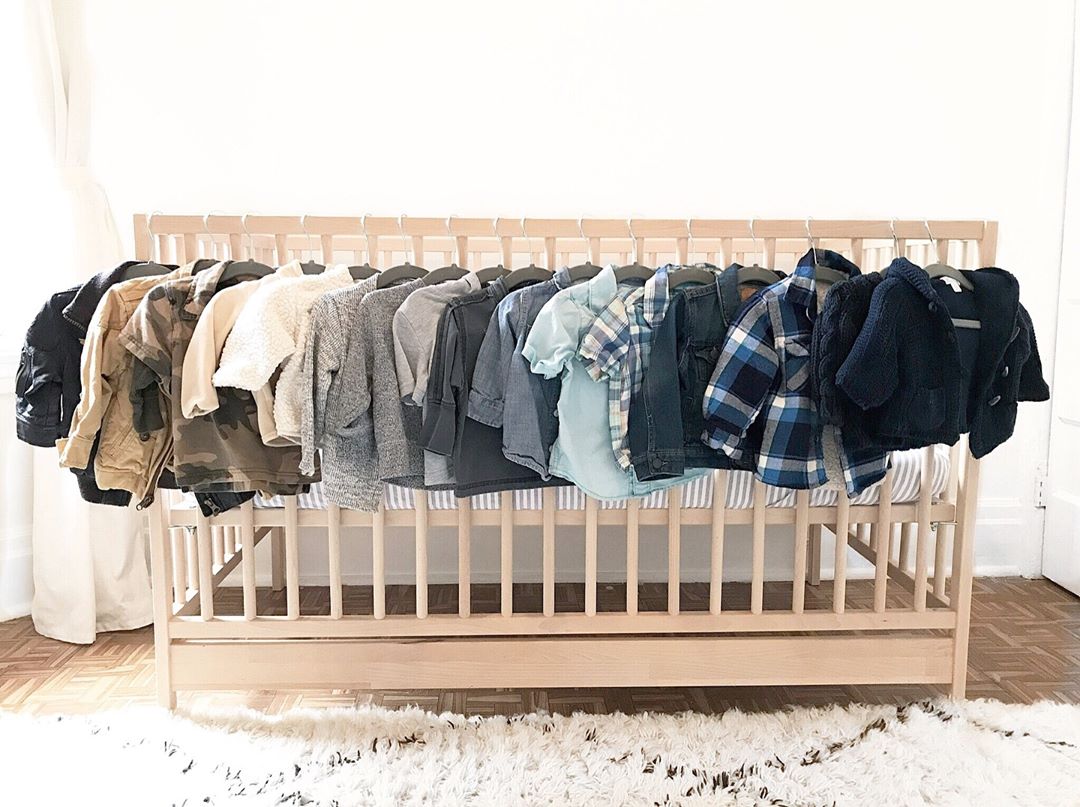
I recommend you don’t buy a lot of clothing at first, especially not before you know how big your baby will be at birth (you would hate to waste money on clothes that never fit to begin with!). Also, family and friends love to buy cute baby outfits, and you’ll hopefully also receive offers of hand-me-downs from other moms. But you’ll at least want to have some long-sleeved bodysuits, onesies, hats, socks and zippered sleepers to start. All clothing you get, whether new or handed down, should be pre-washed, and I highly recommend Ivory Snow laundry detergent. Not only does it work very well, it also gives clothing and linens that fresh baby scent!

baby-clothes-hanging-on-crib.jpg

As promised, here’s a checklist of all my recommended baby registry essentials:

Baby Registry Essentials Checklist.png

Some of the products mentioned in this post contain affiliate links, and if you click through to make a purchase I will receive a small commission at no cost to you. I would never recommend a product I don’t believe in. Thank you for supporting the brands that make it possible to maintain this blog.

My Birth Story

birth-story-1.JPG

Our baby boy is here! Axel arrived on October 11th, 2018 at 4:38am, weighing 6 lbs 13 oz and measuring 20 inches long. His arrival was an everyday miracle, an experience that I never want to forget, so I’m sharing my birth story here while it’s still somewhat fresh in my mind. 

Signs of Pre-Labour

Axel’s estimated due date was Monday, October 15th, but as of October 8th, at the end of Thanksgiving weekend, I had a feeling that he would be coming before the following weekend. At my 38 week doctor’s appointment (the last appointment I would have) my doctor performed a Stretch and Sweep to help kickstart things, and hubs and I were both ready for baby to come so we were doing what we could on our end to help naturally induce him. On Wednesday, October 10th, the first day of Week 39, I woke up with a feeling that it could be my last chance to take my final weekly bump photo, and sure enough, at 3pm that afternoon, about 20 minutes after I finished taking that picture, I felt some mild abdominal cramping accompanied by very light spotting — a sign that I was in early labour. Since early labour can last for a few days, I didn’t really think much of it and carried on with my day, putting up swatches of paint samples on the wall of my home office and getting the latest batch of baby clothes I had received from a friend washed, sorted and put away. I had dinner plans with friends later that evening and was supposed to meet them at the restaurant at 6:30pm, but I continued to have intermittent cramps (they felt like mild menstrual cramps) so I bailed on dinner at around 4:30. I still didn’t think the cramping meant I would be having a baby later that night, but felt uncomfortable enough to not want to leave the house. Well, it’s a good thing I cancelled!! I finally started thinking, Okay, something could be happening here, so I rushed to get dinner made. By 6:45, I was having significant enough pain that I knew I should start timing and recording my contractions, and that’s the moment that I feel like I officially went into labour. My contractions over the next few hours were very irregular and short, slowly building up in intensity. I had been texting with my doula, Elizabeth, since 7pm and at 10:30 I felt like it was probably time to have her come over. Elizabeth arrived an hour later and was instrumental in helping me get through my contractions and managing my pain. 

Week 38. I took this photo exactly one week before I went into labour.

Week 38. I took this photo exactly one week before I went into labour.

My Birth Plan 

Before I get to the exciting part, I want to share my birth plan. My birth plan consisted of a short list of preferences: 

  • Vaginal birth 

  • No epidural 

  • No episiotomy

  • Baby’s father cuts the umbilical cord 

  • Music

  • Delayed cord clamping (1-3 minutes) 

  • Skin-to-skin immediately after birth 

Those last two points weren’t really necessary as part of my plan because they are standard procedure at the hospital I delivered at (they wait to clamp the cord after 1 minute and skin-to-skin is encouraged), and in the moment, Taylor decided he didn’t want to cut the cord. We also didn’t have music playing because there wasn’t even time for it! But I was very happy that I got to have the epidural-free, vaginal birth that I wanted, without needing an episiotomy, and a few things I did during pregnancy contributed to this, like taking prenatal yoga and doing perineal massage, but the most important contributing factor was having a doula. There is no way I could have gotten through labour and delivery without an epidural if it were not for Elizabeth to help me manage the pain. Which brings me back to her arrival at my house at 11:30pm on Wednesday night… 

birth-story-2.JPG

The Labour Process 

When Elizabeth arrived, we set ourselves up in the tv room with all the lights out except for a small lamp (the darkness was very soothing). We sat on the sofa calmly and quietly chatting between contractions, and then when I felt a contraction coming on, I got down on my knees on the cozy shag rug and draped arms and upper body over my stability ball. (I also spent some of my time between contractions sitting on the ball, alternately rolling my hips and bouncing on it to keep labour from regressing.) Elizabeth then used both her hands to put pressure on my lower back until the contraction was over. Even though we had gone through a bunch of different possible labouring positions during one of Elizabeth’s previous visits, this one was so effective that it was the only one we used. The magic that she performed with her hands was a life-saver, it really helped me to better cope with the pain of each contraction. 

Elizabeth used an app to time and record my contractions, and they steadily increased in frequency and duration for the next three and a half hours. We reached a point where my contractions were about 5 minutes apart and anywhere between 42-55 seconds long, and this had been the pattern for at least an hour (the threshold for knowing when it’s time to go to the hospital is the 3-1-1 rule: when contractions are 3 minutes apart, they last for 1 minute, and that’s been happening for 1 hour, that’s when you know it’s time to go). I felt like I had more time and wanted to labour in the comfort of my home for as long as possible, but then suddenly THINGS GOT INTERESTING. I took a brief 10 minute nap on the couch and when I woke up with my next contraction, the pain of it brought me to my hands and knees on the floor and I couldn’t even make it to my stability ball that was only two feet away from me. I suddenly felt — and heard — a loud pop followed by a gush of fluid. It was my waters breaking (time stamp 3:22am), and I immediately knew it was time to go to the hospital. As of that moment, my contractions went from 5 minutes apart to coming one after another, and the pain intensity level increased drastically. I yelled for Taylor to wake up and he sprung into action, feeding the pets and taking the dog out while I readied myself to go. We had planned on taking a cab to the hospital but I knew there wasn’t time so Taylor drove us. It was the middle of the night so there wasn’t any traffic and I was urgently demanding him to drive through all of the red lights wherever it was safe to do so. I was in so much pain that I couldn’t even sit all the way on the seat and I was sort of just hovering over it, using the door and the centre console to elevate myself. I think I had 3 or 4 contractions on the way to the hospital and they were fist-clenching, knuckle-whitening, vein-popping kind of painful, and Elizabeth couldn’t use her magic hand pressure but she could still coach me to breathe (horse lips!) from the backseat which was extremely helpful. When we arrived at the hospital and I got out of the car, I let out a primal scream and had another contraction, this time feeling the urge to push. I I swear, I thought I was going to deliver my baby in the entryway! A security guard saw us arrive and was waiting inside with a wheelchair that I sat on in a sort of sideways position, and Elizabeth wheeled me as fast as she could towards the Labour and Delivery unit that is conveniently located down a LONG HALLWAY and up an elevator to the 15TH FLOOR where we had to ring a doorbell and WAIT FOREVER for someone to buzz us in, then headed down another long hallway to the nursing station. (Taylor, who went to park the car in the lot across the street, caught up with us by the time we reached the nursing station — time stamp: right around 4am.) The nurses asked all sorts of questions, like how far apart my contractions were and other things I don’t even remember because I was in so much pain. Elizabeth thankfully fielded all their questions and, from that, the nurses learned just how far along I was so I bypassed having to go to triage and they put me into a delivery room right away. 

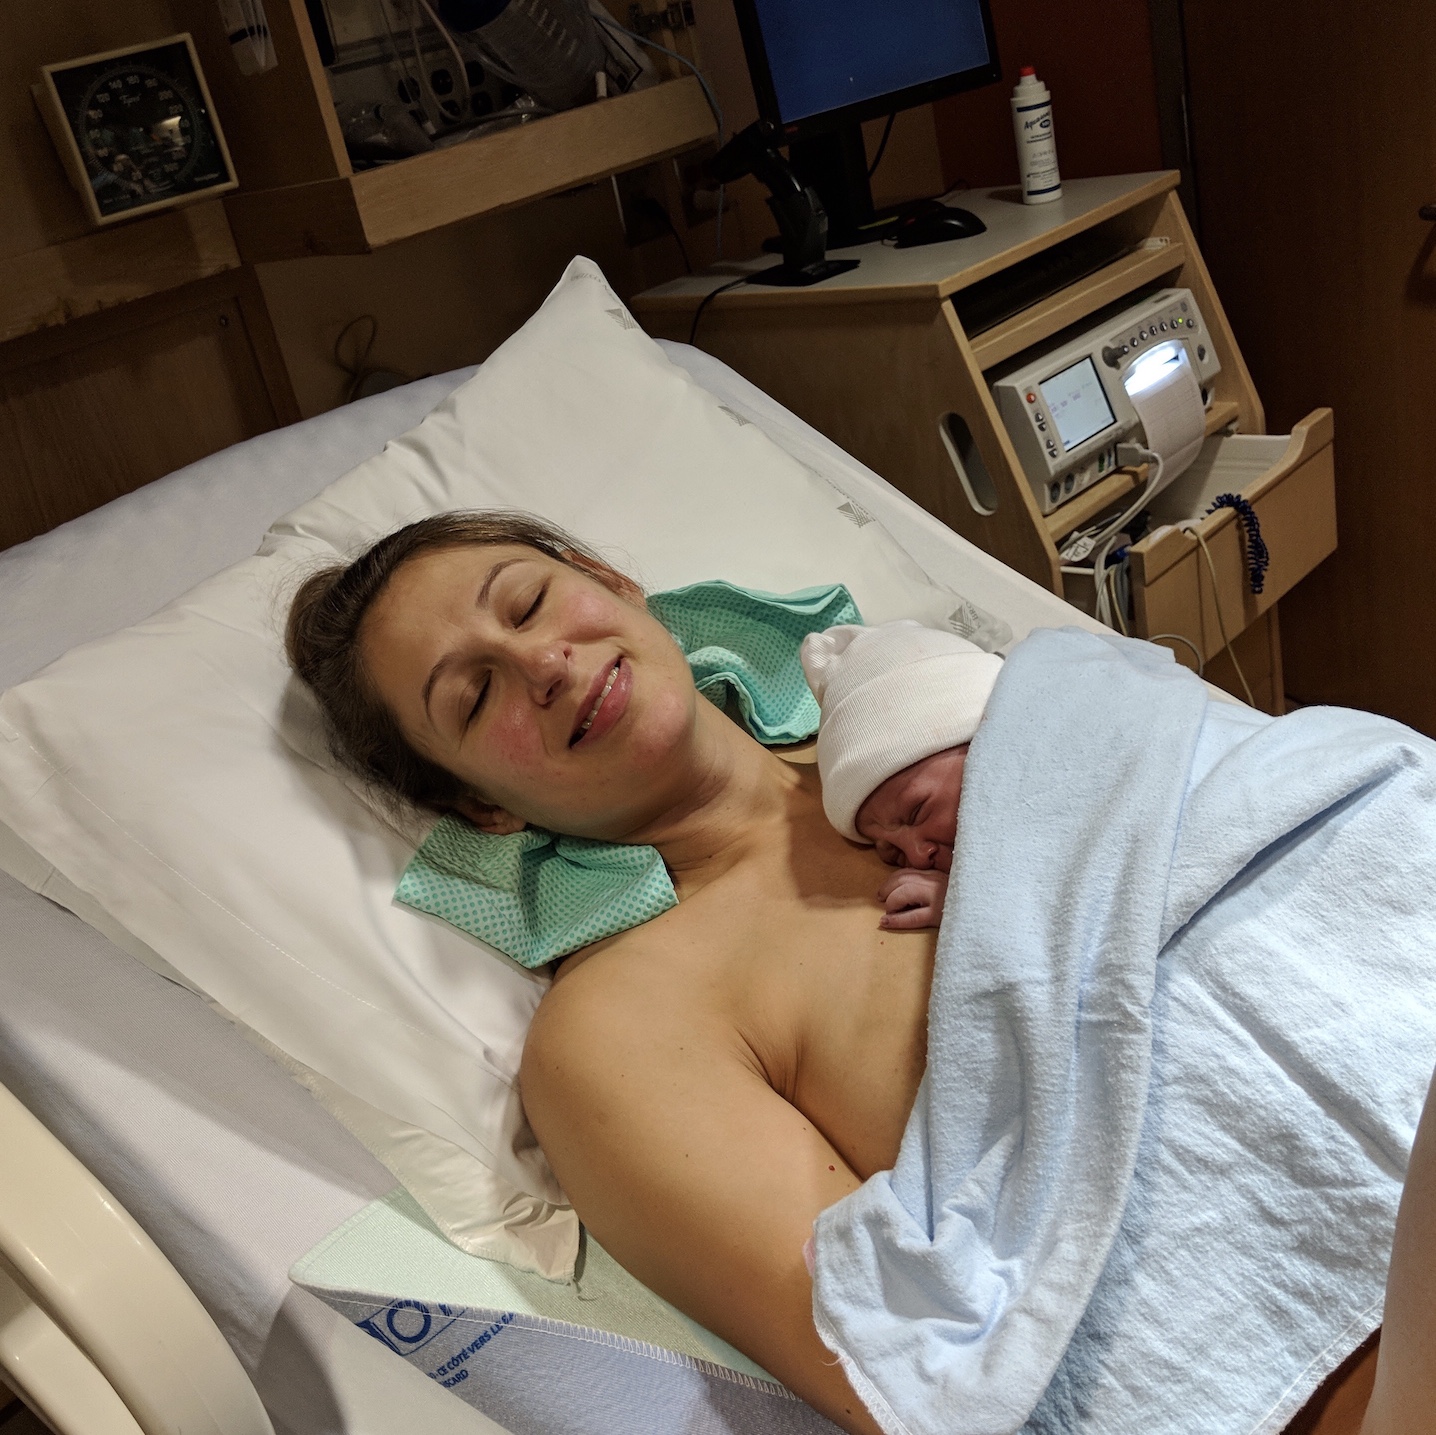
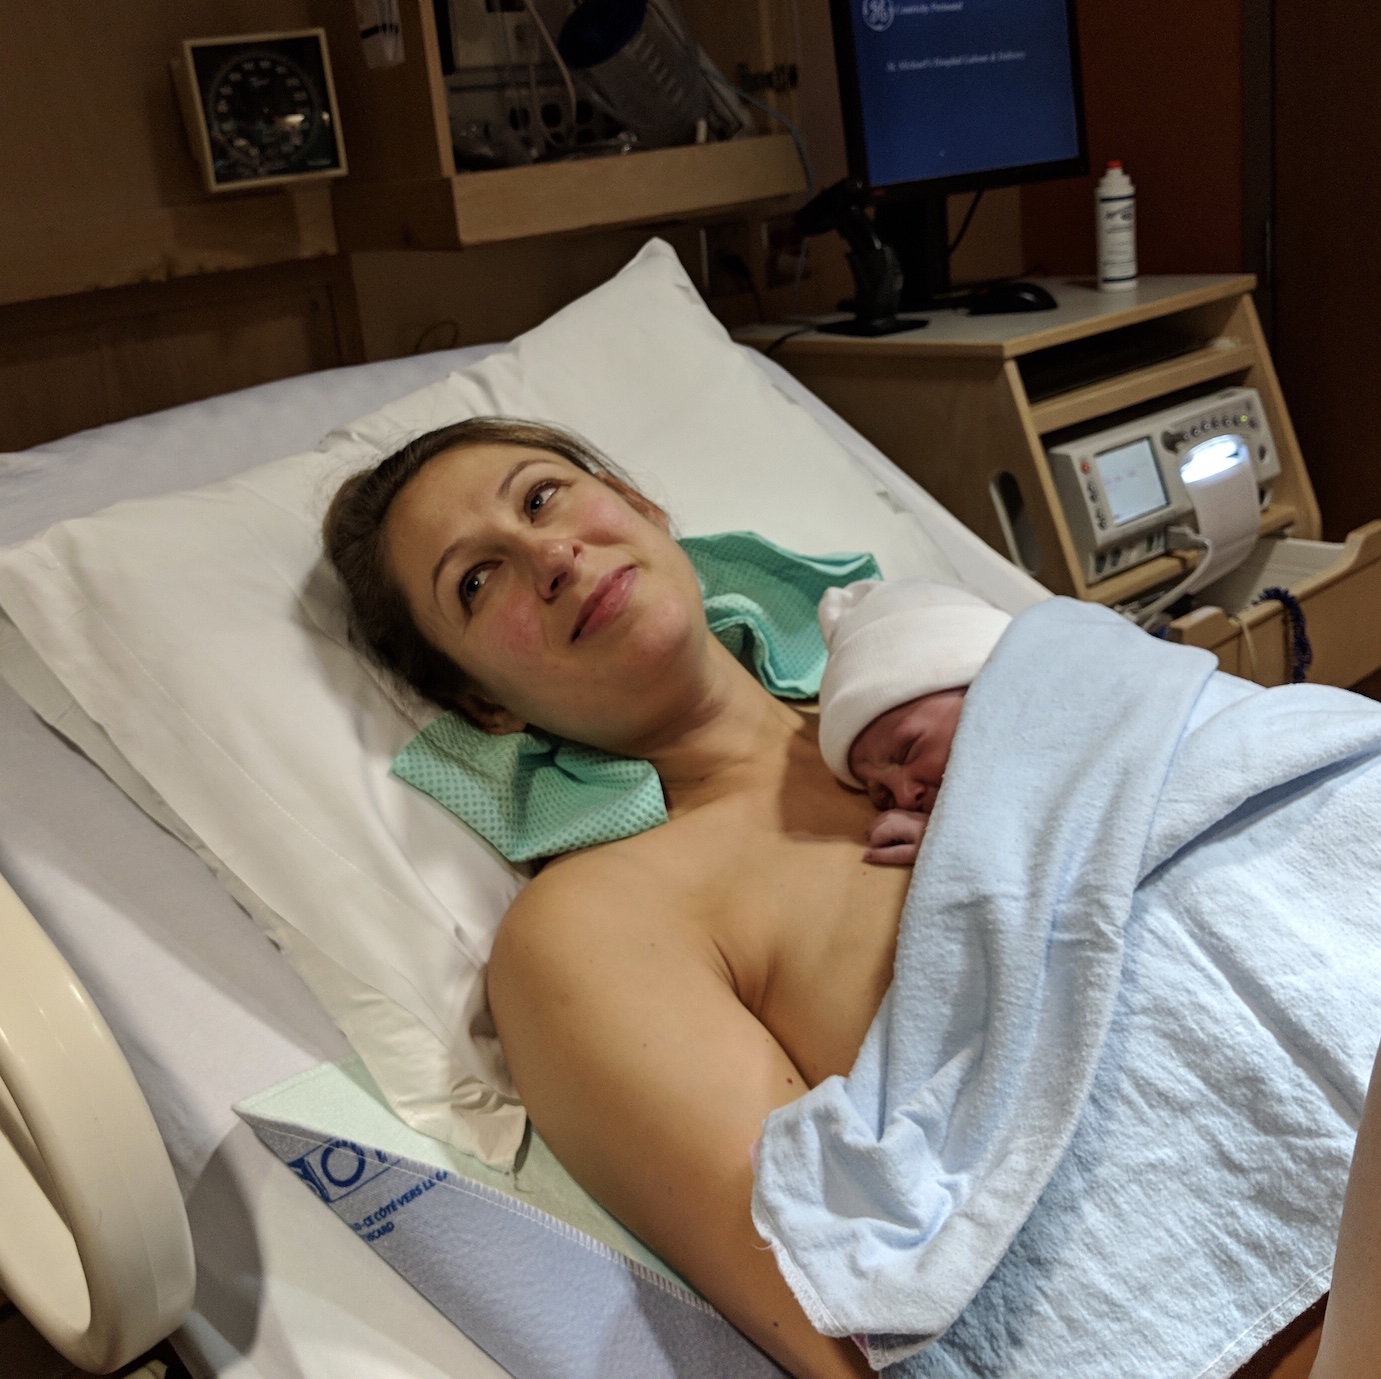
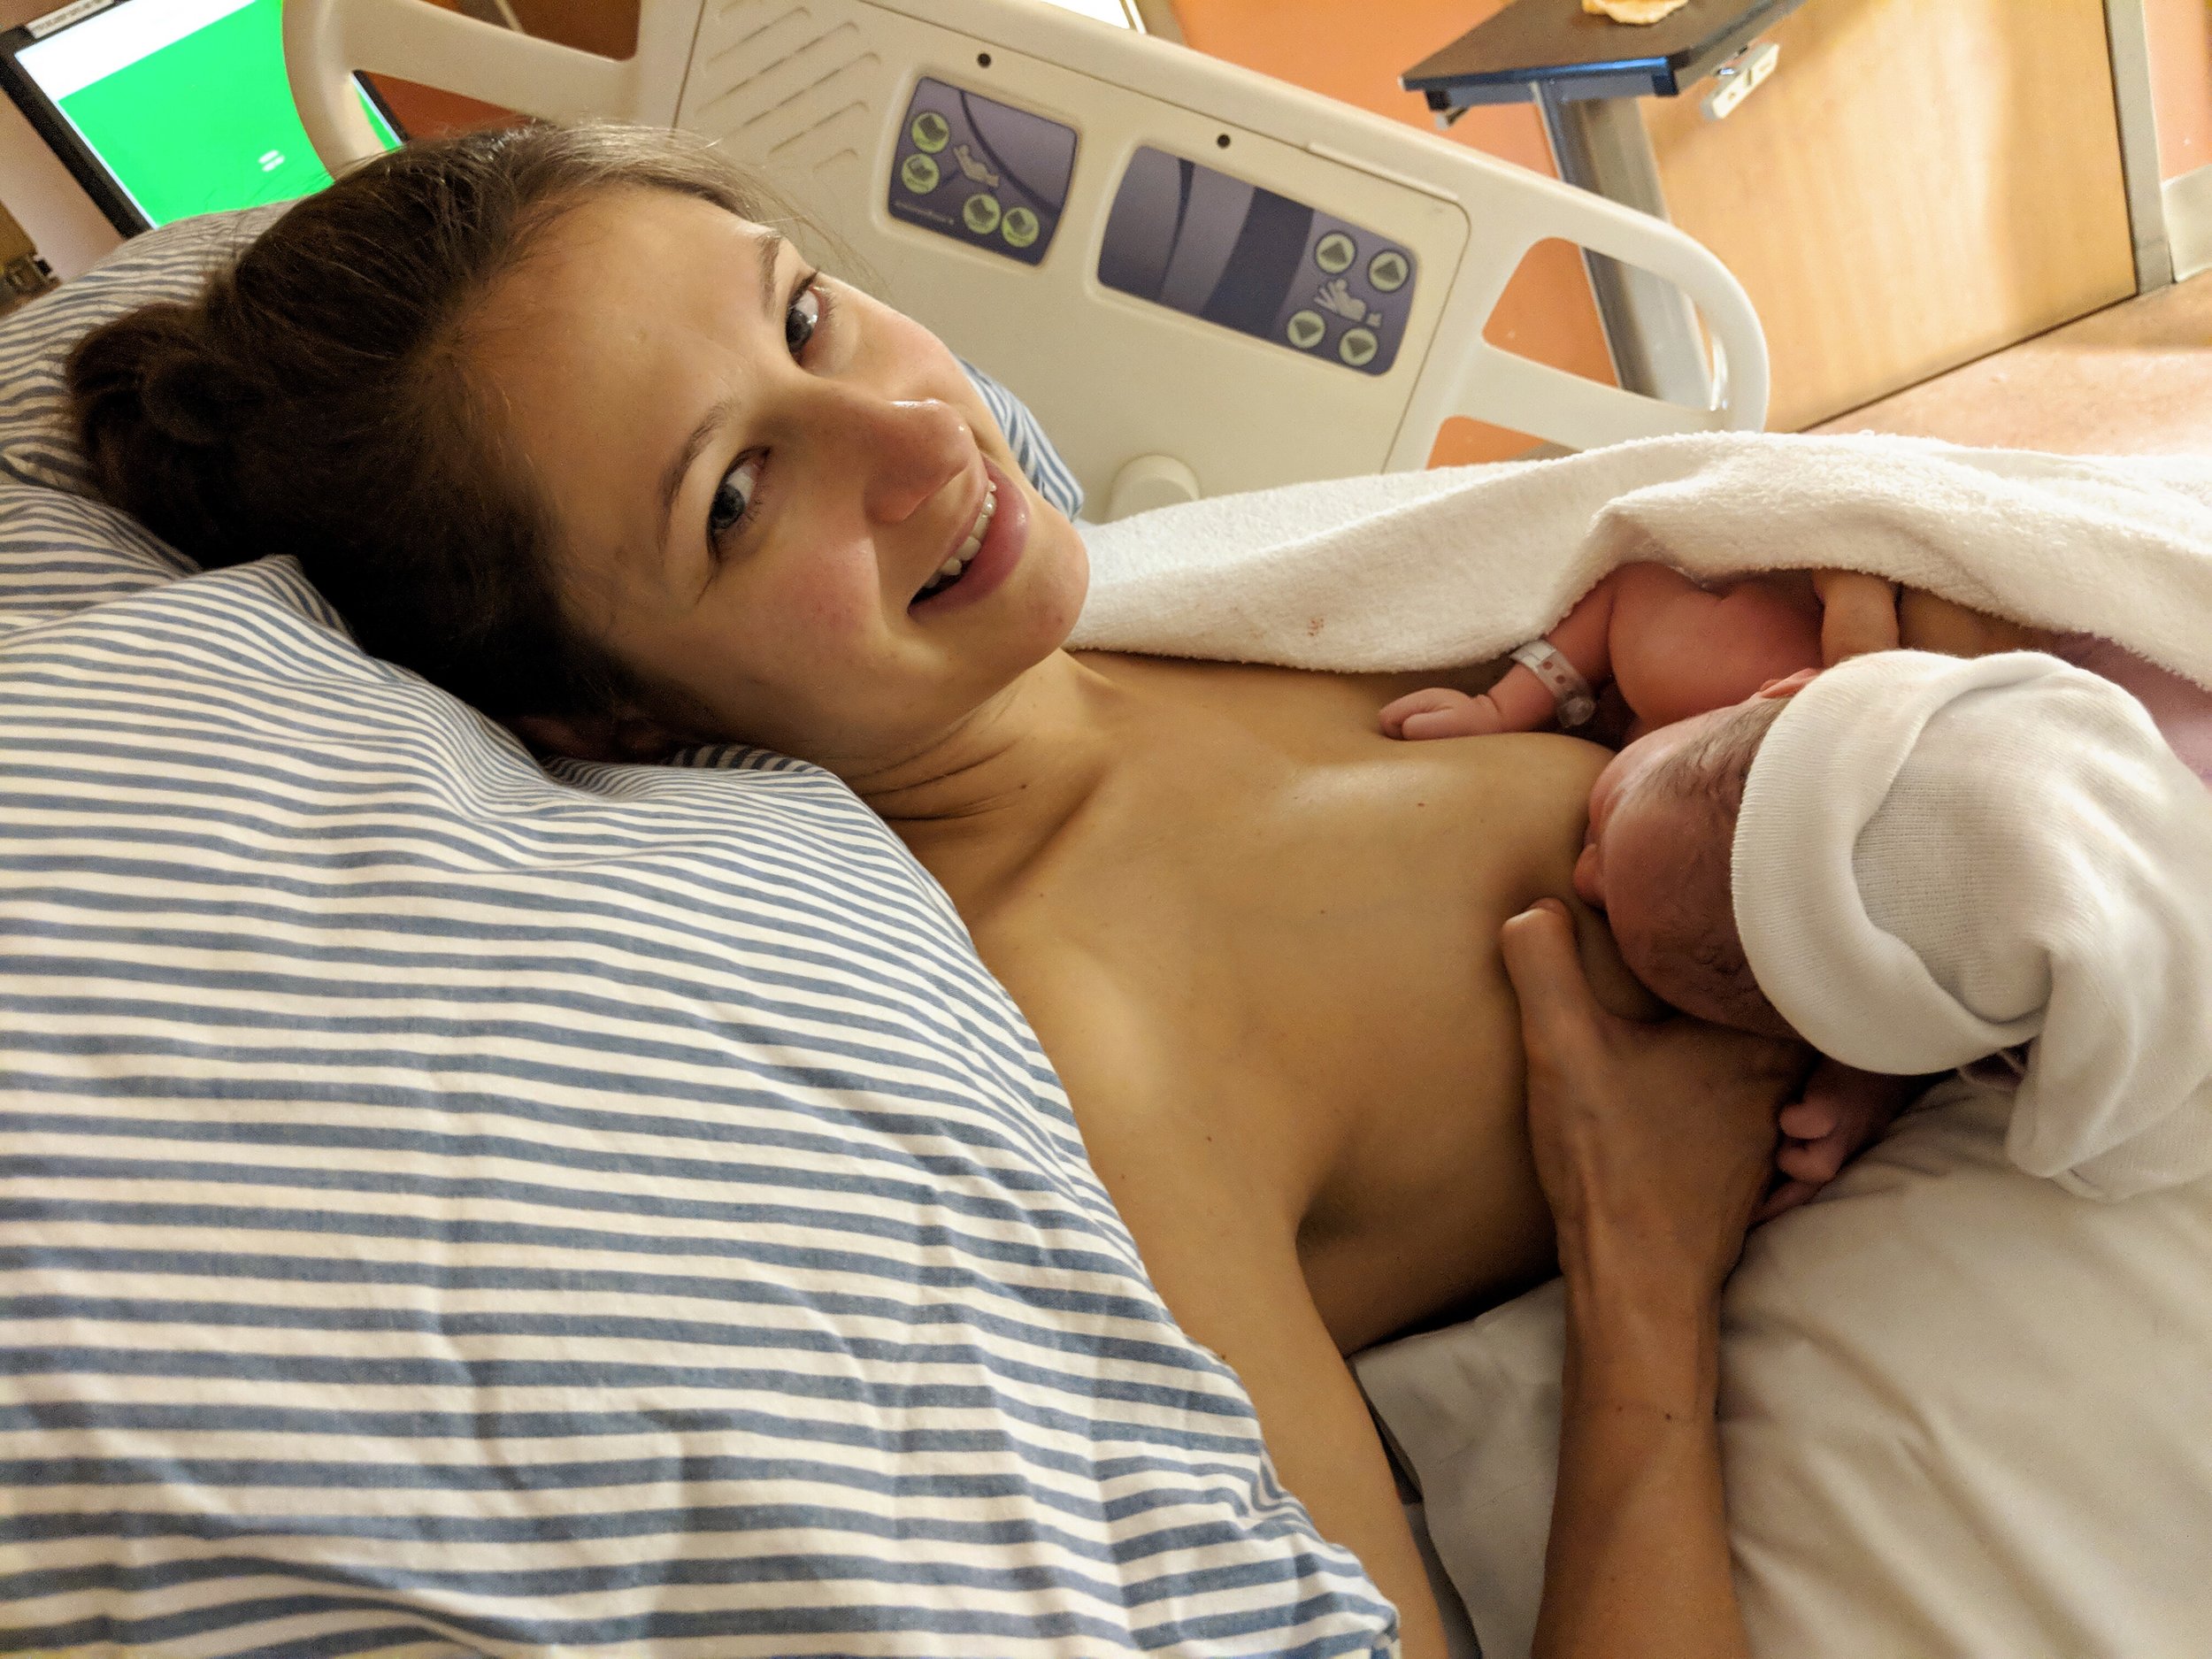
Taylor helped me get undressed and I lay down on the bed on my side. I remember there were 4 nurses/residents in the room and the on-call doctor was on his way (my OB/GYN wasn’t on call that night). I was asked if I wanted an epidural and I declined. I went in telling the staff that I didn’t want to know how many centimetres dilated I was, because I read that finding out you’re less dilated that you had thought or hoped can actually cause labour to regress and I didn’t want that. They checked me, and then one of the nurses asked me how much I wanted to know. The way she asked me made it seem like her question was hinting at something, so I said okay, just tell me. Turns out I was at 10cm — fully dilated!!! Good thing we got to the hospital when we did! I had 2 or 3 contractions while laying on my side as the staff prepped for delivery and I remember calling out for Elizabeth to come and do that amazing thing she did with her hands on my back. (I later learned that she asked Taylor if he wanted to “take the next one” but he declined, since she was so effective at it and he didn’t want to mess with what was working. That’s the amazing thing about having a doula — they are there to support both the mom and the dad/spouse/birth partner, and Taylor was just as thankful to have Elizabeth there as I was.) Everything was quickly prepped and it was time for me to roll onto my back and get into position. I was already crowning and ready to push with the next contraction. (By this point in time, it felt like I was going to “poop the baby out of me” and I even said that aloud a few times, ha!) When the baby is coming down the birth canal, it’s a “two steps forward, one step backward” sort of process, so you push during a contraction and baby comes down, he slides back up a little when you stop pushing. By the third (or maybe it was the fourth) contraction that I pushed through, I felt like I was losing energy and I really didn’t want him to slip back in and have to push all over again, so I used that as motivation to keep pushing even after the contraction ended. Plus, I had the doctors and nurses telling me he was almost out and to keep pushing, and sure enough, there he was! It’s hard to describe the pain of childbirth, but I’ll try: Contractions feel like menstrual cramps times 1,000; pushing baby down the birth canal is a whole mess of sharp yet short bursts of allover burning pain; and once the head is out, the rest of the baby’s body coming out feels like a corkscrew twisting in reverse. But once Axel was out and he was placed on my chest, all pain went away and I was intensely focused on the little baby that was in my belly only moments ago. I fell in love with him instantly! He lay on my chest for about half an hour before creeping towards my breast for his first feeding. One of the practitioners stitched me up while Axel and I were having our bonding skin-to-skin time — I tore very minimally and required only two stitches (I’m so glad I did perineal massage in the two weeks leading up to the birth). The entire birth experience while at the hospital happened so fast — it took place in only about a half an hour. I’m very happy that I got to labour in the comfort of my own home for as long as possible. Even though the hospital portion was only half an hour, I laboured over the course of 9 hours. 

Our first time breastfeeding

Our first time breastfeeding

Why I Decided Against an Epidural

First of all, I don’t think there’s anything wrong with epidurals and I don’t think that women who chose to have one are making a bad decision. In fact, I was open to having one if I decided in the moment that I couldn’t handle the pain. The reason I chose to have a natural birth was because I didn’t want all the medical interventions that come along with it, and because its one benefit (reduced pain) outweighed its many disadvantages (for both myself and for baby). Getting an epidural means having 6 medical interventions: First, there’s the obvious, the epidural itself (1), which consists of getting a needle in your spine and a tube inserted for the pain medication to be administered. Because the epidural numbs you from the waist down, you can’t get up to pee (nor can you feel the urge to go) so you have to be given a catheter (2) to drain your bladder. Since having an epidural causes your blood pressure to drop, this puts baby at risk, so internal and external fetal monitoring (3 & 4) are required, plus you have to wear a blood pressure cuff (5). You’re also required to have an IV (6) inserted in the back of your hand to provide fluids. I didn’t want to be hooked up to all this equipment, and I wanted to be free to move around during labour. Having an epidural also slows labour down and I certainly didn’t want to prolong the experience. An epidural increases the risk of having a C-section and I had my heart set on having a vaginal birth. Despite the intense pain I endured, I’m happy with my decision to refuse an epidural and I have no regrets. 

We spent the next few days in the hospital but I’ll talk more about that and about bringing baby home in an upcoming post. 

I really enjoyed being pregnant but I’m happy that phase is over, and I’m grateful to have had the birth experience that I hoped for and that a healthy baby was the result. Now on to the next phase — raising our son!