2 Interior Design Trends To Watch For In 2020

living-room-shelf-design.png

Hello, year 2020! If a new year is a good time for a fresh start, then a new decade is an especially good time for change. For at least the latter half of the last decade, white & bright interiors have reigned supreme in popularity, punctuated by all-white kitchens and room after room decorated in a white, pink and gold colour scheme. The start of the last decade also saw grey take over from beige as the new neutral. Well, if you’re not a fan of any of this, or, like me, you’ve just had enough of it, then I think you’re going to like what I think are the two major interior design trends to watch for this year.

  1. EARTH TONES, WOOD, TEXTURES AND COLOURS. Personally speaking, I’m bored of the all-white-everything trend. I’m craving more warmth in my interior spaces, and I don’t think I’m alone in this. I think we’re going to see more earth tones, more natural wood furniture and decor pieces, more texture and layering of spaces. I also think we’re going to see the return of detail and elements that add character. I believe we’ll see more deep earthy colours, particularly greens, and accented by rust colours, caramels, tans, copper and brass.

  2. COLOURFUL KITCHENS. It’s already a smart design move to paint your lower cabinets in a dark colour, leaving the uppers white, but this isn’t what I mean by adding colour in the kitchen. I mean, I think we’re going to see some really interesting and colourful kitchens this year, where colour touches every part of the room. The popular trend in kitchens has been all-white for quite some time now and it’s time for the pendulum to swing.

The Draper James store in Nashville, Tennessee, is full of southern charm. I’m craving the warmth of southern style and I can see elements of it making their way into homes north of the border.

The Draper James store in Nashville, Tennessee, is full of southern charm. I’m craving the warmth of southern style and I can see elements of it making their way into homes north of the border.

I also mentioned that grey was the “new neutral” of the last decade, and you see this especially in house-flipping — when you look through real estate listings (in Toronto, at least), any time you see a house that’s been renovated to sell, all the walls are grey, the laminate floors are grey, the kitchen is mostly grey…and then they go and stage it with a ton of grey furniture! It’s really gotten out of hand, this obsession with grey. It can be cold and uninvitingI don’t think we’re going back to beige any time soon, but I do think that a warm white will slowly become the new neutral.

What do you think we’ll be seeing more of in interior design this year? Do you agree with my 2020 trend forecast? What do you want to see more of in design and decorating this year?

Decorating a Midcentury Bungalow with Bohemian Flair

bohemian-living-room-decorating-tips-2.JPG

My husband and I purchased a new house together and we moved in a couple of months ago, in November 2019. It’s a midcentury bungalow, built in 1955, and we’re decorating it in a style that’s appropriate to the home. We’re calling our style “Boho Rancho” — it will have a lot of bohemian flair with touches of southwest elements and midcentury modern pieces. Our living room is so far the most complete room of our house, and since the majority of our decor reflects a bohemian decorating style, I wanted to share my 4 simple tips for achieving this look in your own home.

  1. NEUTRAL COLOURS. I recommend white walls so that the other elements in the room can pop against it. Wood tones and leather are great for furniture (our caramel-coloured leather sofa from Structube was the jumping off point for the living room design). Green makes a great accent colour, especially in plants, which brings me to number 2…


  2. PLANTS. Including lots of greenery in the room will make it feel alive, and the vibrant colours of the plants pair perfectly with the neutral tones in the rest of the room.


  3. TEXTURE. Layer the room with lots of different textures. Area rugs, toss cushions and throws are a great start for furnishings and accessories, and these layer nicely with bamboo and rattan elements. A little bit of fringe somewhere is also a good idea.


  4. WOOD TONES. I mentioned wood tones when discussing neutral colours, but it deserves its own category. Bohemian style is very earthly and natural and wood tones add warmth to the space. It’s best to match your wood tones but if you have multiple wood tones then the way to make them look cohesive is to have at least 2 or 3 pieces per wood tone.

BONUS TIP: Achieving southwest style. Since we’re not exclusively decorating our space in a Bohemian style and we’re also throwing in a little southwest style (hence the “Rancho” part of the style description), here are some elements you’ll want to include in your space to achieve this look: cowhide, bone, animal prints (horses especially), and red and orange hues.

bohemian-living-room-decorating-tips-1.JPG


6 Tips For Selling Your Home

Ossington4 - tv room.jpg

My husband and I sold our home a couple of months ago and it was stressful. I purchased the home on my own nine years ago and my husband moved into it after we met a couple of years ago, and this was the first time that the two of us have gone through the selling process. I learned a lot going through this and wanted to share my tips for others who are getting ready to sell, and hopefully help make the process less stressful for others. (All photos included in this post were taken for our real estate listing. I’m not too happy with how they were over-saturated in the editing process, but I’m very pleased with how our home showed in reality. Even though I didn’t finish decorating all the rooms the way I would have liked, nor did the renovations I wanted to do — ugh, those floors!! — I’m very proud of my first home, and ready and excited to move on to the next!)

Ossington3 - living room.jpg

#1: Declutter, declutter, declutter

And then declutter some more. This is one of the most important things you can do to get your house sold quickly and for your asking price (or better). Prospective buyers want to see large rooms and lots of storage space, so edit as much as you can and remove any unnecessary pieces of furniture — rooms will appear larger as a result. Clean up bookshelves and surfaces so that only the minimum books and objects remain. And don’t just shove everything in the closets! Clear out those closets so they aren’t completely full, they will look bigger than they actually are.

#2: Remove all personal items

As you’re decluttering, make sure to put away all personal items, such as family photos, religious artifacts, and any other personal keepsakes. It helps buyers envision themselves in the home.

Ossington7 - master bedroom.jpg

#3: Minor upgrades and repair

Give your home minor repairs and necessary upgrades, but don’t go overboard. For example, you don’t need to invest in a complete kitchen renovation, but you’ll want to address any obvious repair work that might turn prospective buyers away. Prior to deciding to move, we had some plumbing and electrical work done which left major holes in a few walls and we kept putting off the completion of those jobs, so we had a handyman come in and put up drywall. I did a lot of the minor touch-ups to get the house in showing condition, like patching minor holes from art and shelves long-since removed, and did painting touch-ups where necessary. My husband installed a bit of baseboard where it was missing and parged the exterior where some of the bricks had eroded. We basically repaired any little thing that may have drawn negative attention. Unless they’re looking for a fixer-upper, buyers don’t want to see how much work they’re going to have to do as soon as they move in!

#4: Curb appeal

First impressions are everything! Pull the weeds, trim the hedges, make the home look presentable from the outside. I put a fresh layer of black cedar mulch in our front yard area and touched up the paint on the porch where it had worn away on the stairs and it made such a difference.

Ossington1 - exterior front.jpg

#5. Give your home a fresh scent

You may have heard that it’s a good idea to bake cookies before an open house. Well, this busy mama ain’t got time for that! We already use Saje diffusers in different areas of the house, but not all the time. During the week that we were showing the house, I made sure to turn our diffusers on every morning so that the house had a fresh scent. We keep a clean house and regularly employ a cleaning service, but with a dog and two cats it sure helps to have a boost of freshness.

Ossington8 - nursery.jpg

#6: Always be ready to show your home

We listed our house and held offers for six days, and in that week we had almost 30 showings! We didn’t want to have an open house, we only wanted qualified buyers coming through. We agreed to make our house available within 2 hours notice, and it was easier to keep the house in show-ready condition. This means no appliances or kitchen gadgets on the counter, don’t leave dishes in the sink, keep the bathroom sparkling clean, make the beds every morning. It’s difficult to live that way, but it’s worth it and helps get the house sold.

Ossington5 - kitchen 1.jpg

BONUS TIP! #7: Staging

Personally, I think that if you focus on decluttering your space, you don’t need to spend money on staging. But sometimes a few little things can help. If you have a large empty wall, considering getting an inexpensive piece of art or a mirror (HomeSense is great for this!). A few small succulents add life to a space, and they could be placed on the bathroom sink, the kitchen counter, or on a bedside table. Rugs help to define a space and work well when you have an open concept area and you’re trying to show different purposes throughout the room (dining area, living space). But I don’t think you need to overdo the staging, just use what you have and make it work.

Ossington10 - bathroom.jpg


7733f824d50f51c264ebd1dd0c62fb77c576542c3a0743b19b

House After Spouse: We're Moving!

house-for-sale-sold.JPG

Long-time readers of this blog may remember that it used to be called “House Before Spouse: A Modern Girl’s Adventures In First-Home Buying” and I started it in 2010 as a way to document my house-hunting journey as a single woman. Just as my blog has evolved, so have I, and it’s time to move on after nine years of living here. A lot has changed since I bought this place, including getting married and having a baby, and this house just doesn’t work for my family anymore. (Newer readers to my blog — I’ll bet you get the reference in this post’s title now!) We spent a lot of time decluttering the house and doing some minor repairs that really should have been done a long time ago, and once it was in showing condition we put it up for sale. We held offers for a week and accepted an offer that came with conditions, but the sale officially went through and we’ll be moving in early October. Our motivating factors for moving are to have a backyard and more parking. We currently don’t have a backyard — instead, the back of our house is where we have our parking spot that is accessed through a laneway. Even though it can hold two small vehicles, we have a large pick-up truck that takes up the entire space, so my husband has to find street parking for his work truck and that involves a lot of vehicle shifting due to allowed parking times. Beyond those two reasons for moving, we’ve also just outgrown this house and it’s time to leave. For me especially, I’m looking forward to a fresh canvas for decorating and renovating. I’m also excited to get back to my blogging origins and start sharing more decorating and renovating topics on here! 

The title graphic from when I first started this blog and it was called House Before Spouse.

The title graphic from when I first started this blog and it was called House Before Spouse.

In the meantime, you’re probably wondering where we’re going… we bought a cute little bungalow in Scarborough! I’ll save the details of our house-hunt for another post, as well as the details about the house itself, so stay tuned for more. (I’m finally starting to build up an email list for newsletters, so sign up here if you want to be notified whenever I publish a new blog post.) 

We can’t wait to move and start this new chapter of our lives, and I am excited to take you along on the journey. 

What To Pack In Your Hospital Bag

what-to-pack-in-your-hospital-bag.JPG

I packed my hospital bag about three weeks before my son was born, but I started researching what to bring with me a few months before he was due, so I felt very prepared at packing time. A hospital bag (also sometimes known as a hospital go bag) is the bag you take to the hospital or birthing centre with all the essential items you’ll need for both you and your baby during and after delivery. I recommend you get it packed at least a few weeks in advance of your due date and have it ready to go at a moment’s notice just in case baby decides to come early! I pack lightly when I travel, so I tried to be as minimal as possible when packing for the hospital. Here’s what I packed in my hospital bag, and for your easy reference, I’ve included a checklist at the end of this post. I won’t go on in great detail about every item I packed, but there are a few things that I want to draw attention to and elaborate on further.

THE BAG

Instead of using a travel or overnight bag, I actually used my diaper bag as the hospital bag! We received the Skip Hop Greenwich Diaper Backpack as a baby shower gift and it was large enough to hold everything I needed for both me and the baby during our hospital stay.

TOILETRIES

Bring the essentials like a toothbrush and toothpaste, shampoo, deodorant, etc. but also bring hair elastics, bobby pins and lip balm (you’ll likely be sweaty and want your hair out of your face, and your lips will probably get very dry). My number one toiletry essential is to BRING YOUR OWN TOILET PAPER! And not just any toilet paper, but bring the softest toilet paper you can find (this, in my opinion, is Charmin). This isn’t a 5-star hotel you’re staying at, it’s a government-funded hospital, so you’d better believe they’re not shelling out on good quality TP. When I was doing my research about what to bring, I didn’t see this on anyone’s list, and I’m so glad I thought of it on my own. This is not a time to use the cheap scratchy stuff, mama! I also recommend packing a peri bottle. The hospital will give you one but it’s not the greatest. I bought the FridaBaby Fridet Momwasher for postpartum home use but I wish I had brought it to the hospital with me. Bring “thunderpads” (those giant, thick maxi pads) because hospital supply is limited. You can also make your own “padsicles” for cooling comfort, but cold packs are just as good.

FOR MOM

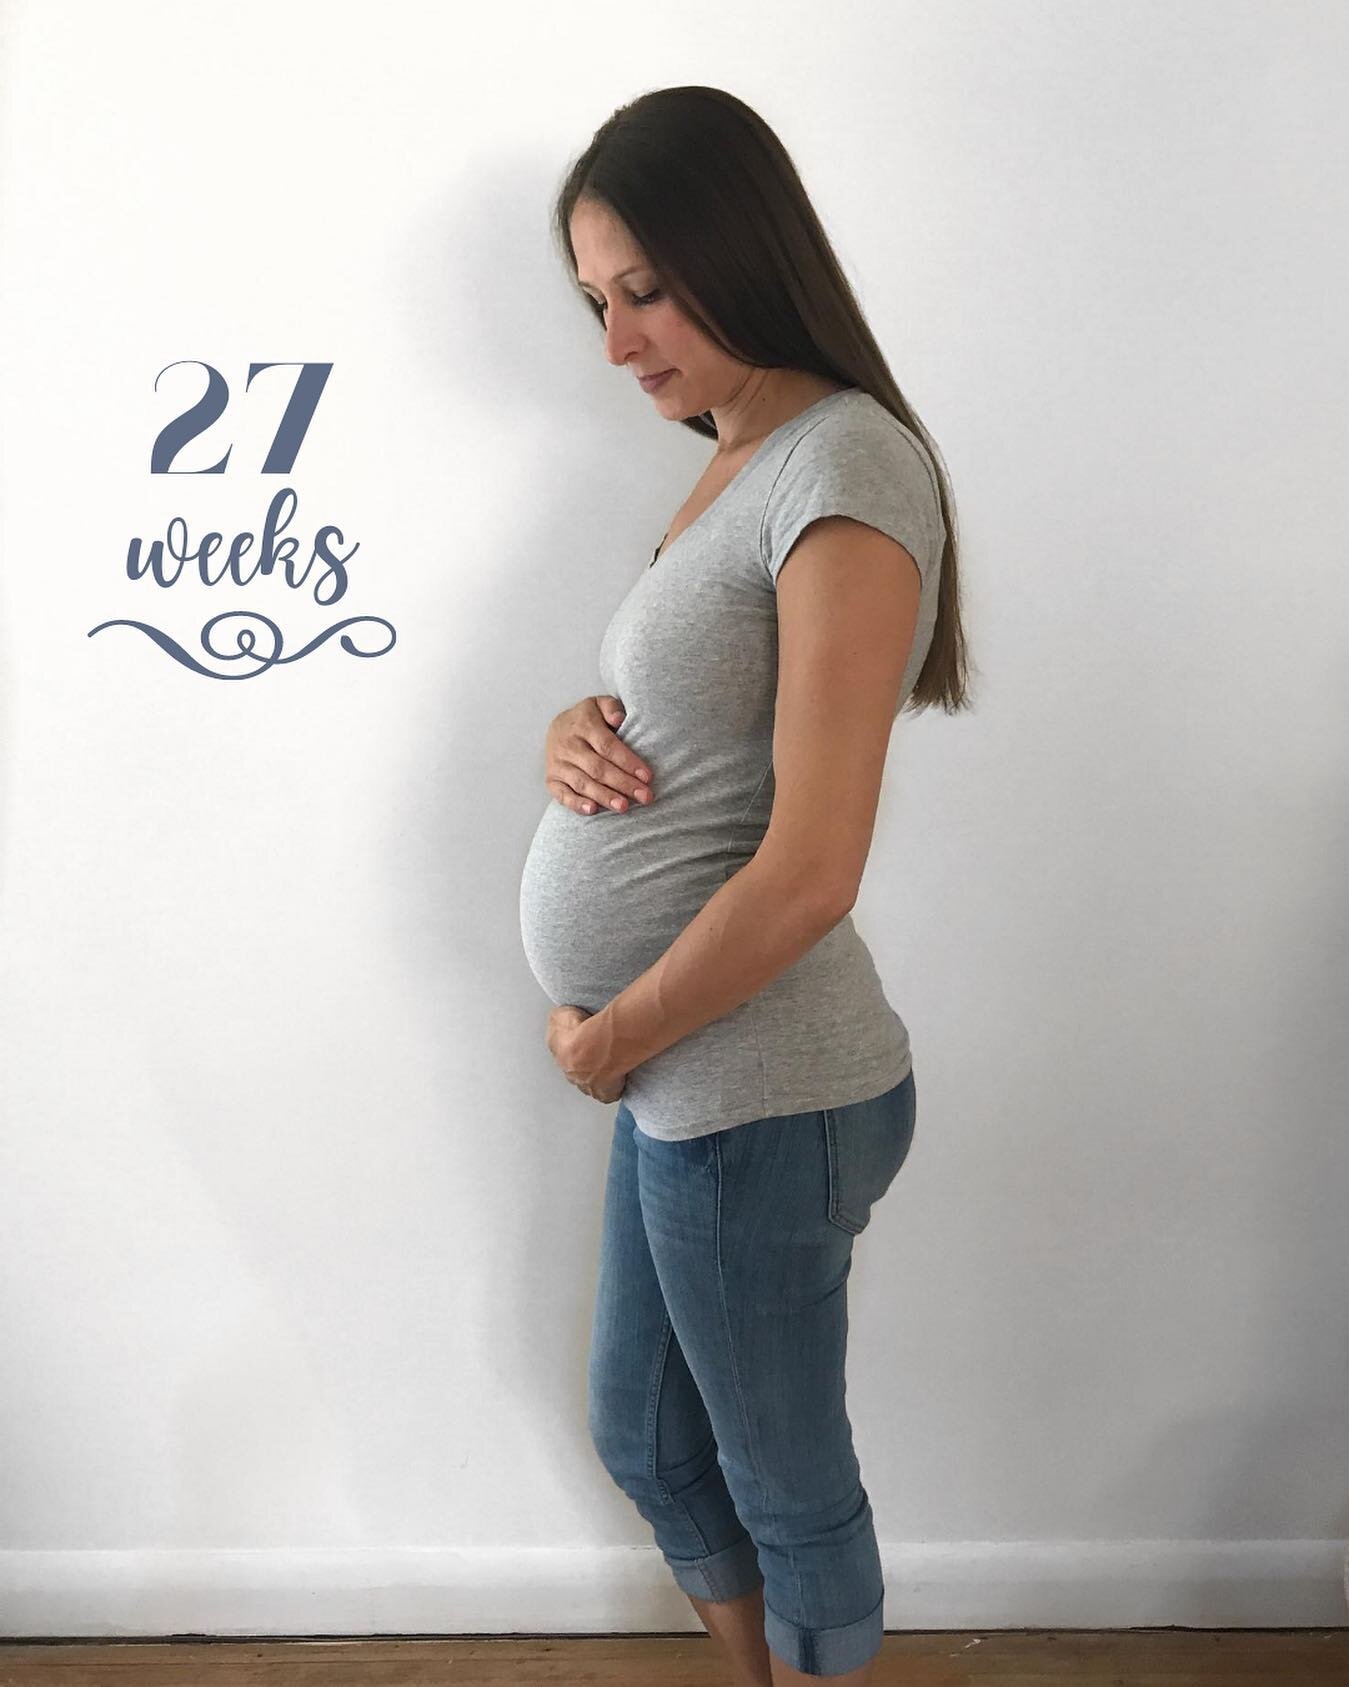
Bring comfortable clothes to labour in. This could be a robe or an oversized t-shirt or a bralette with cozy shorts or pants. You can also just wear the hospital gown they give you, but bring something of your own in case you want it. Also pack a going-home outfit (keep in mind that you’re going to look about 6 months pregnant, so pack a pair of comfortable maternity leggings because I hate to break it to you but you won’t be fitting back into your skinny jeans for quite a while yet). Pack flip flops for the shower and slippers for the room and for walking the hallways. Pack a few pairs of what I call “bumderwear” (underwear that covers your bum, a.k.a. not thongs) because you’ll be wearing a lot of pads and hospitals don’t give you many pairs of that fancy postpartum underwear you hear so much about (or, go one step further and bring leakproof underwear). Pack a sleep mask — great for catching zzz’s during the day while baby sleeps, and helpful at night too because hospital rooms always have a dim light on somewhere in the room.

FOR BABY

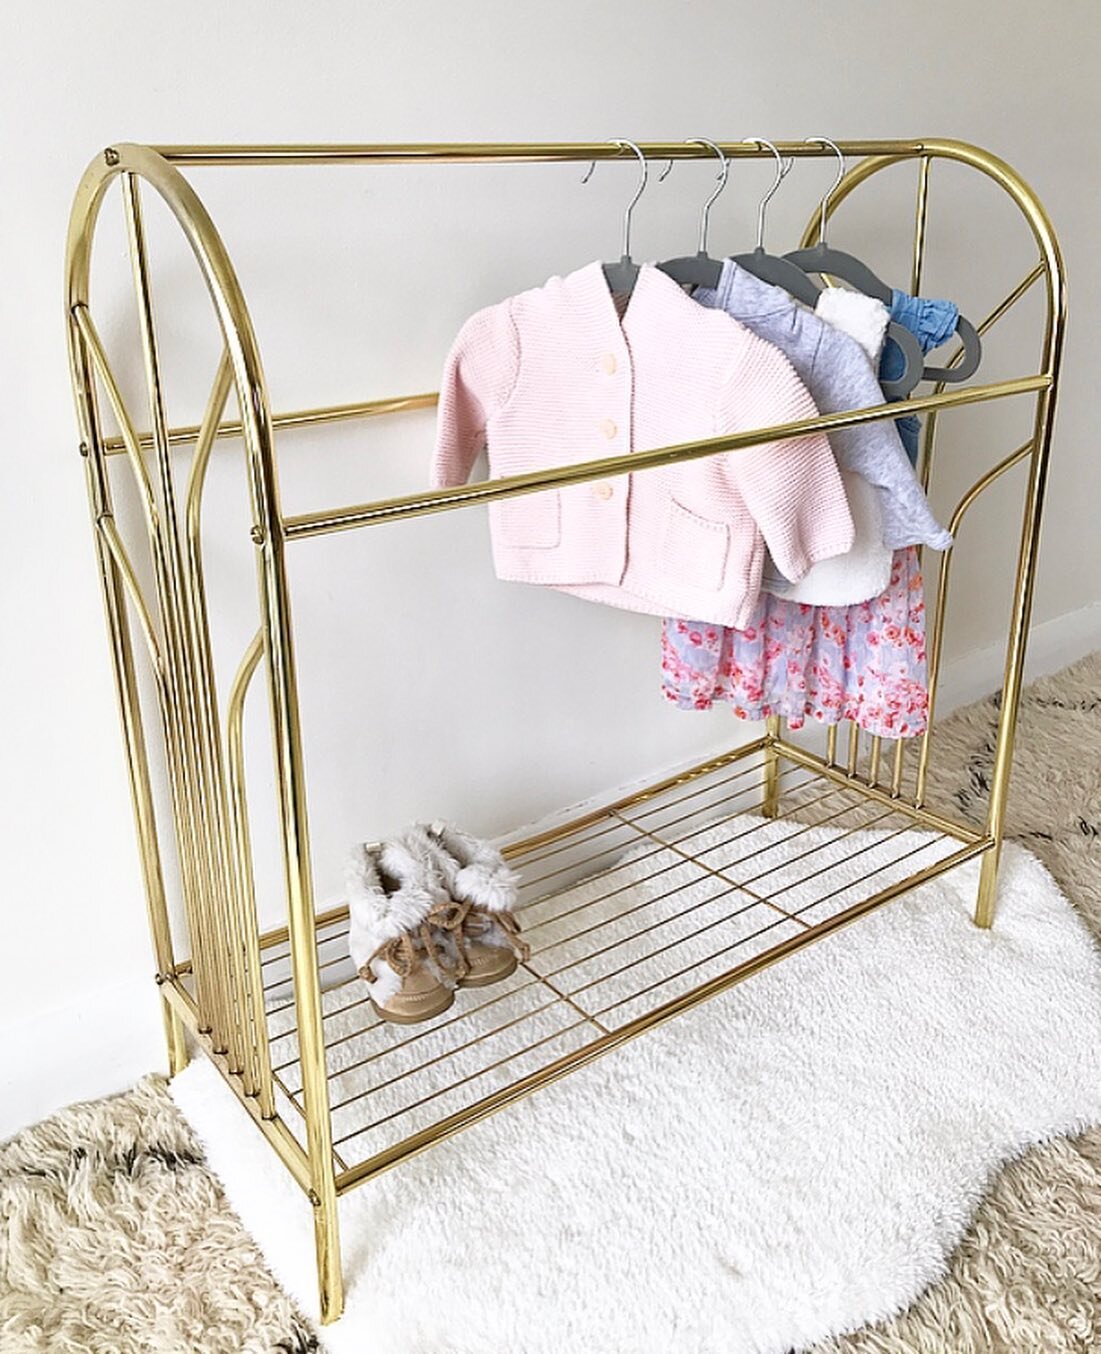
Bring diapers, wipes and barrier cream. The hospital has these in short supply and though they will put your baby in a diaper to start, they expect you to bring these items yourself. Baby will also need an outfit to wear home (something cute, of course!). I packed 2 short-sleeved onesies, pants with attached feet, a long-sleeved onesie, a hat, and socks. Definitely don’t forget to bring a hat for baby’s time at the hospital/birthing centre — it’s not just to look cute on the way home, new babies get cold fast and you’ll probably have it on your baby most of the time.

OTHER

This category includes the things you want with you during labour and to make your hospital stay more comfortable. For example, bring a bluetooth speaker that you can connect your birth playlist to, a phone charger, your own pillow, and snacks — lots of snacks. (The food where I delivered was so disgusting that I sent my husband out to buy food for every meal). I suggest packing a massage roller (this Harmony Roller is a dream — I bought it on Amazon after my doula recommended it). Make sure you bring your important documents, such as your birth plan, health card and hospital card. I highly recommend you bring a very large reusable water bottle and keep it within arms reach because breastfeeding makes you THIRSTY.

As you may already know if you read my birth story, I laboured for about 8 hours at home, and by the time I arrived at the hospital I was already 10cm dilated. Baby was delivered about half an hour after we arrived so I didn’t need some of the items that I thought I might need during labour/delivery. But I did make use of a lot of the other items that I packed for my postpartum stay and I feel like I achieved my goal of packing light.

If you’re also packing your hospital bag and and want to keep things to a minimum, here’s my handy checklist:

hospital-bag-checklist.png